

Quickstart
The Sanas Console is where you manage everything outside your code — your account, projects, API keys, credit balance, and usage. The Sanas SDK is what runs in your code: you feed it interleaved float32 PCM frames and it returns processed frames — noise-cancelled, speech-enhanced, accent-converted, or translated into another language. This guide takes you all the way through: create an account and API key in the Console, install the SDK, process your first audio stream, then see that activity show up as usage and credit in the Console.Info Time required: about 10 minutes. You need: a work email address you can receive mail at, and a supported Python interpreter. No credit card — new accounts start with $10.00 in free credit.
What you’ll build
- An account — your top-level organization, identified by an Account ID.
- A project — a workspace inside the account that owns API keys and reports its own usage.
- An API key — the credential your SDK integration authenticates with.
- A working integration — the SDK installed and processing your first audio stream.
Part 1 · Set up in the Console
Step 1 — Create your account
Go to console.sanas.ai. You’ll land on the Sanas Console sign-in screen. Select Sign up at the bottom to switch to account creation.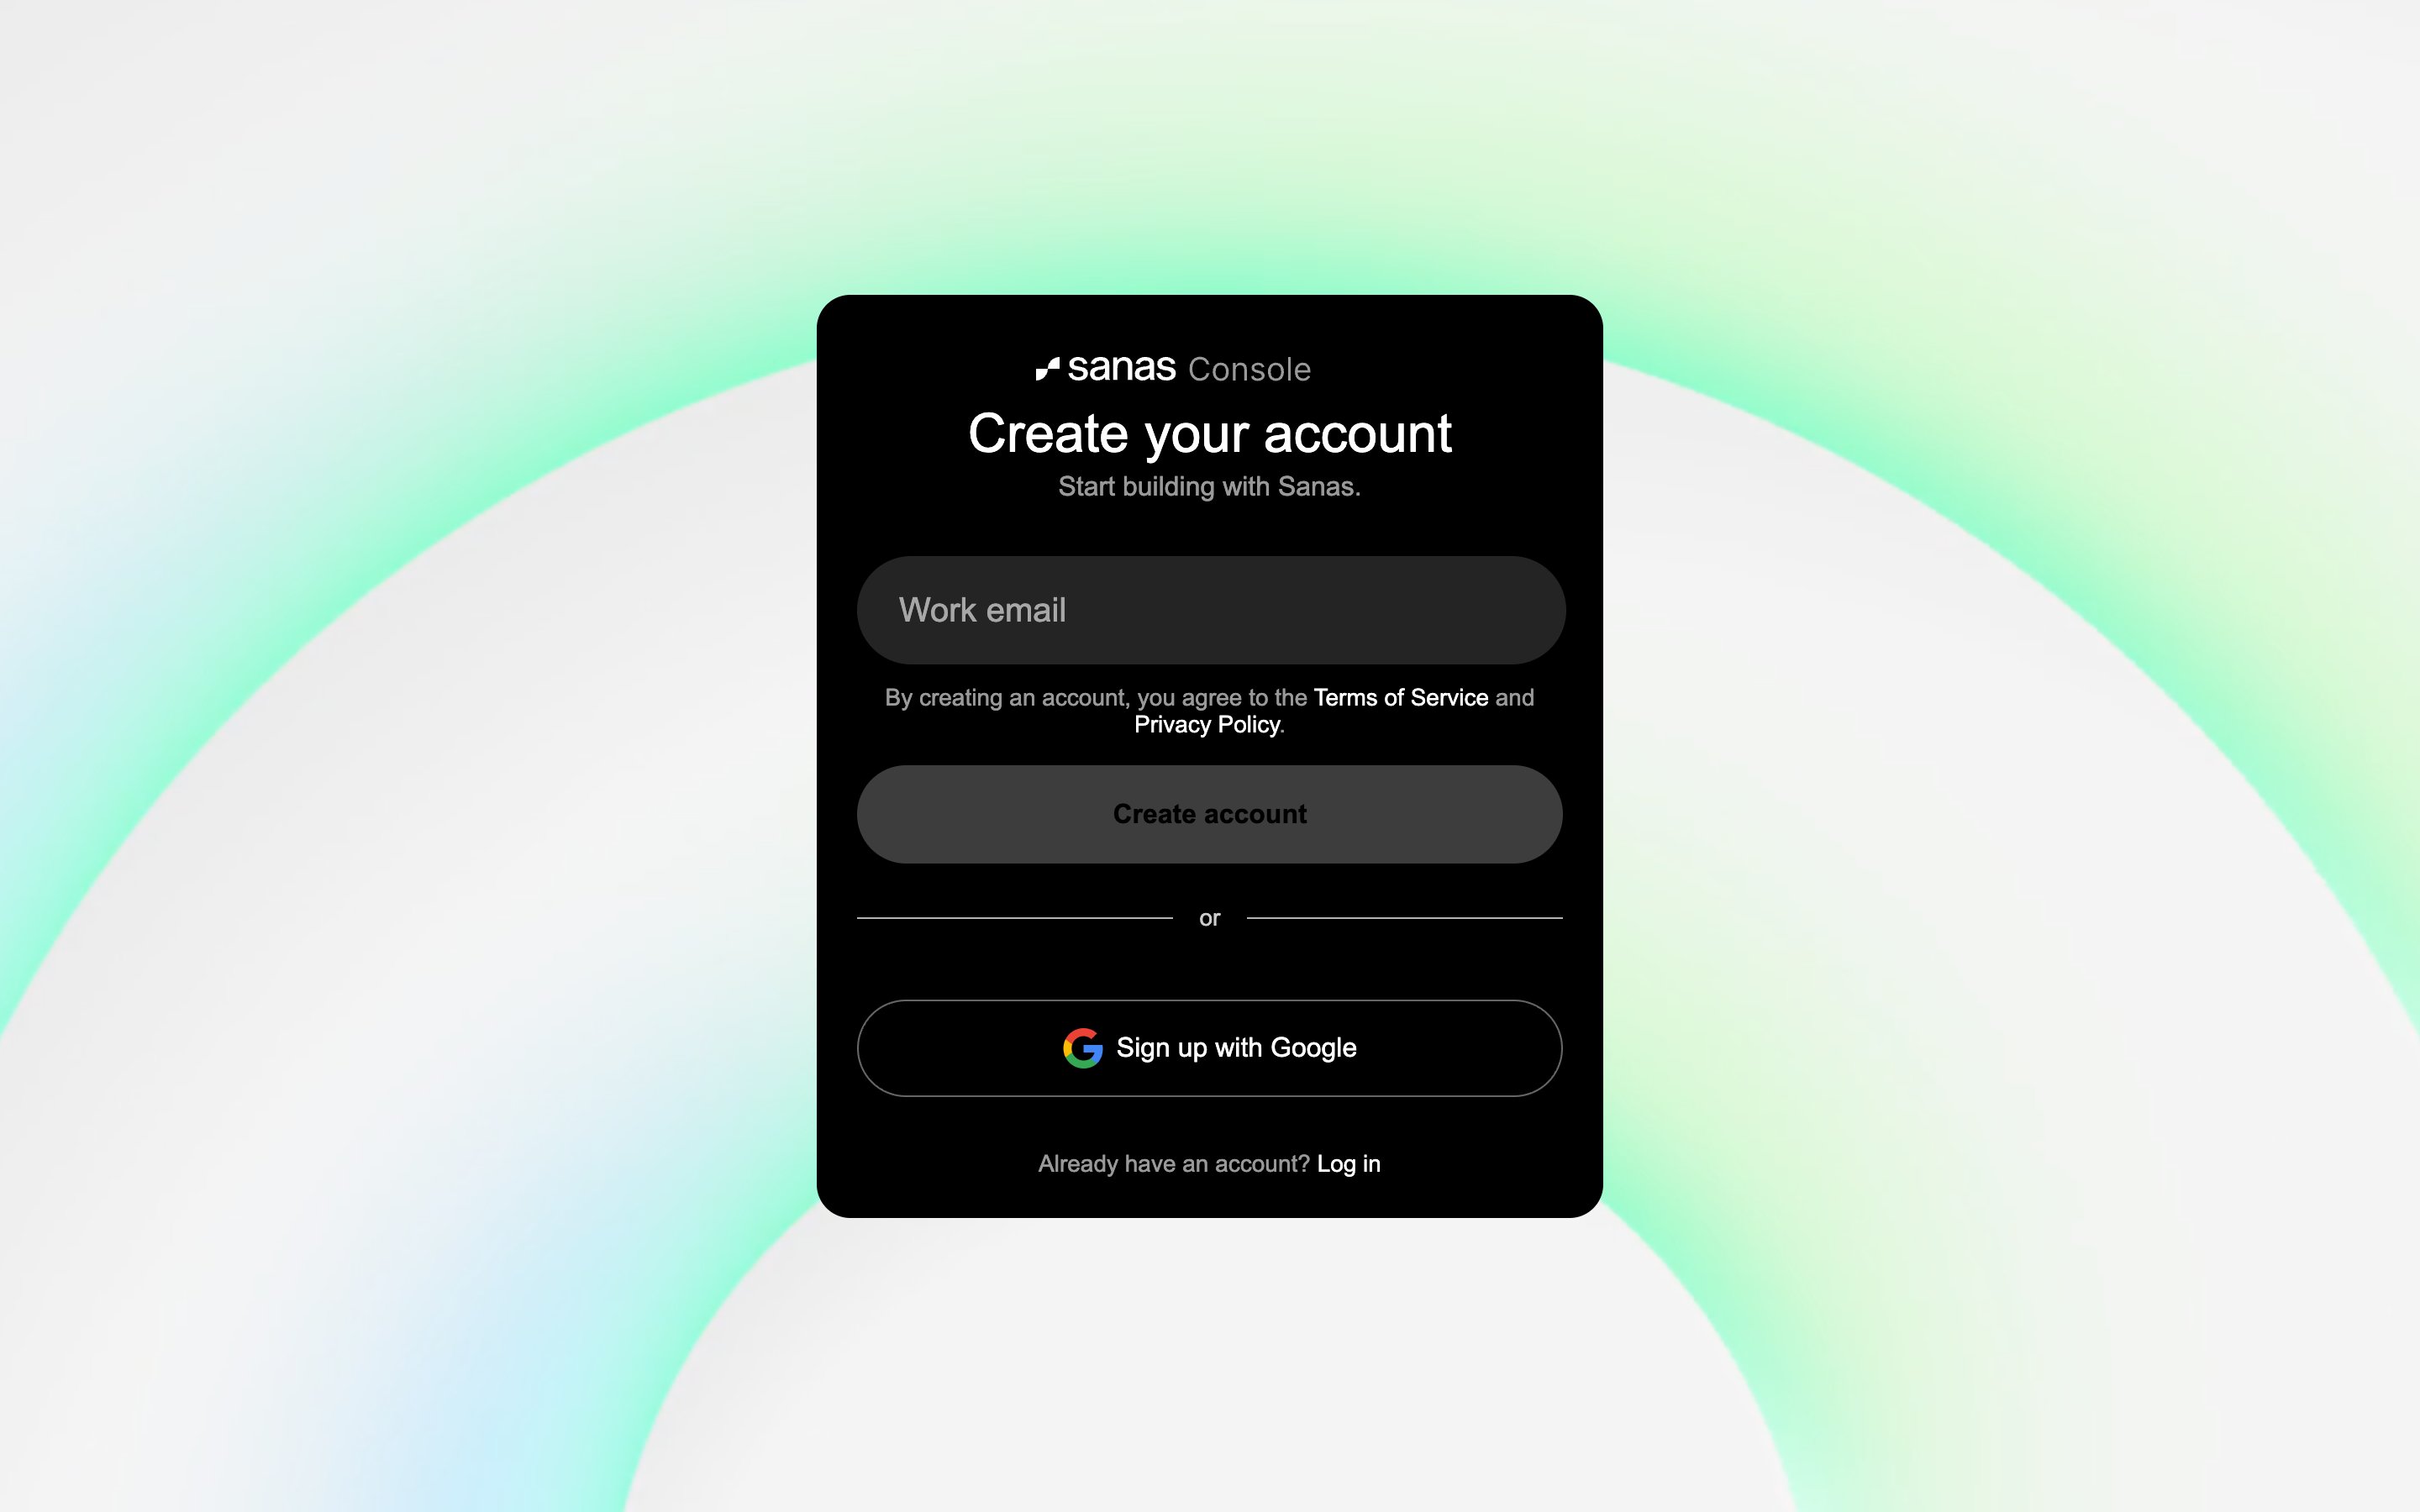
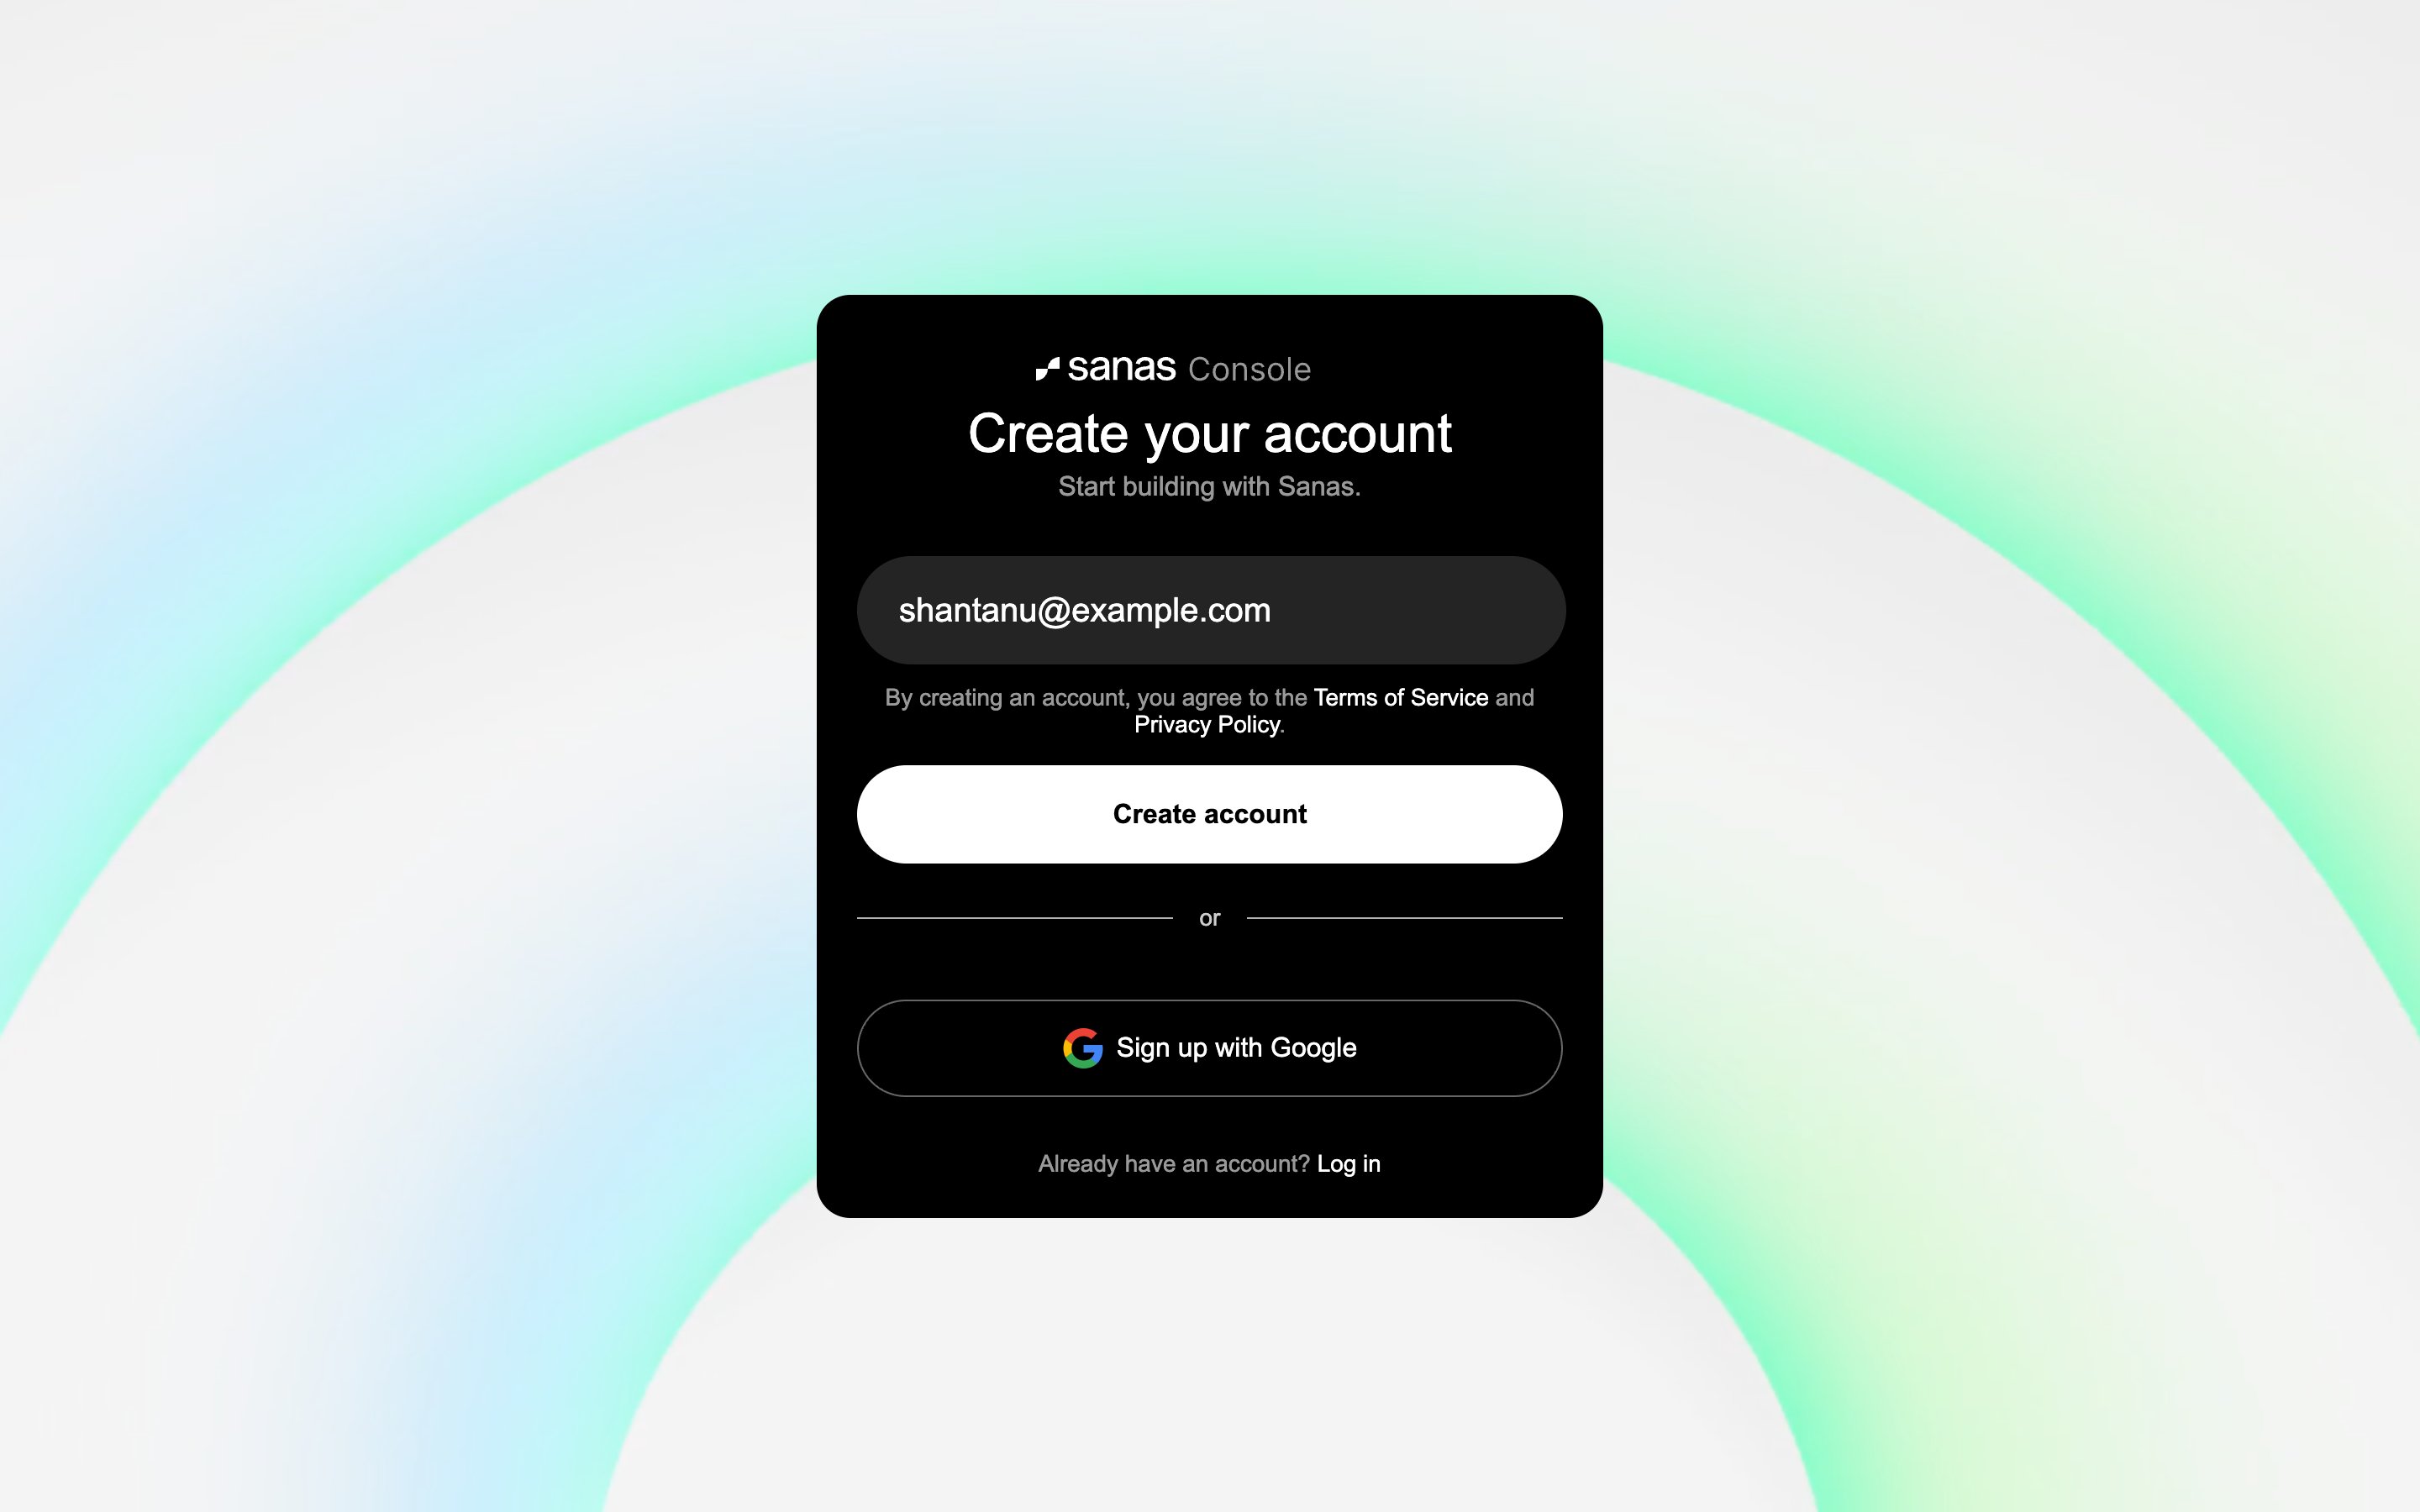
Tip Prefer single sign-on? Sign up with Google creates the same account without a passcode step. The rest of this guide is identical either way.
Step 2 — Verify your email
Sanas signs you in with a one-time passcode instead of a password. Check your inbox for a 6-digit code and enter it, then select Verify.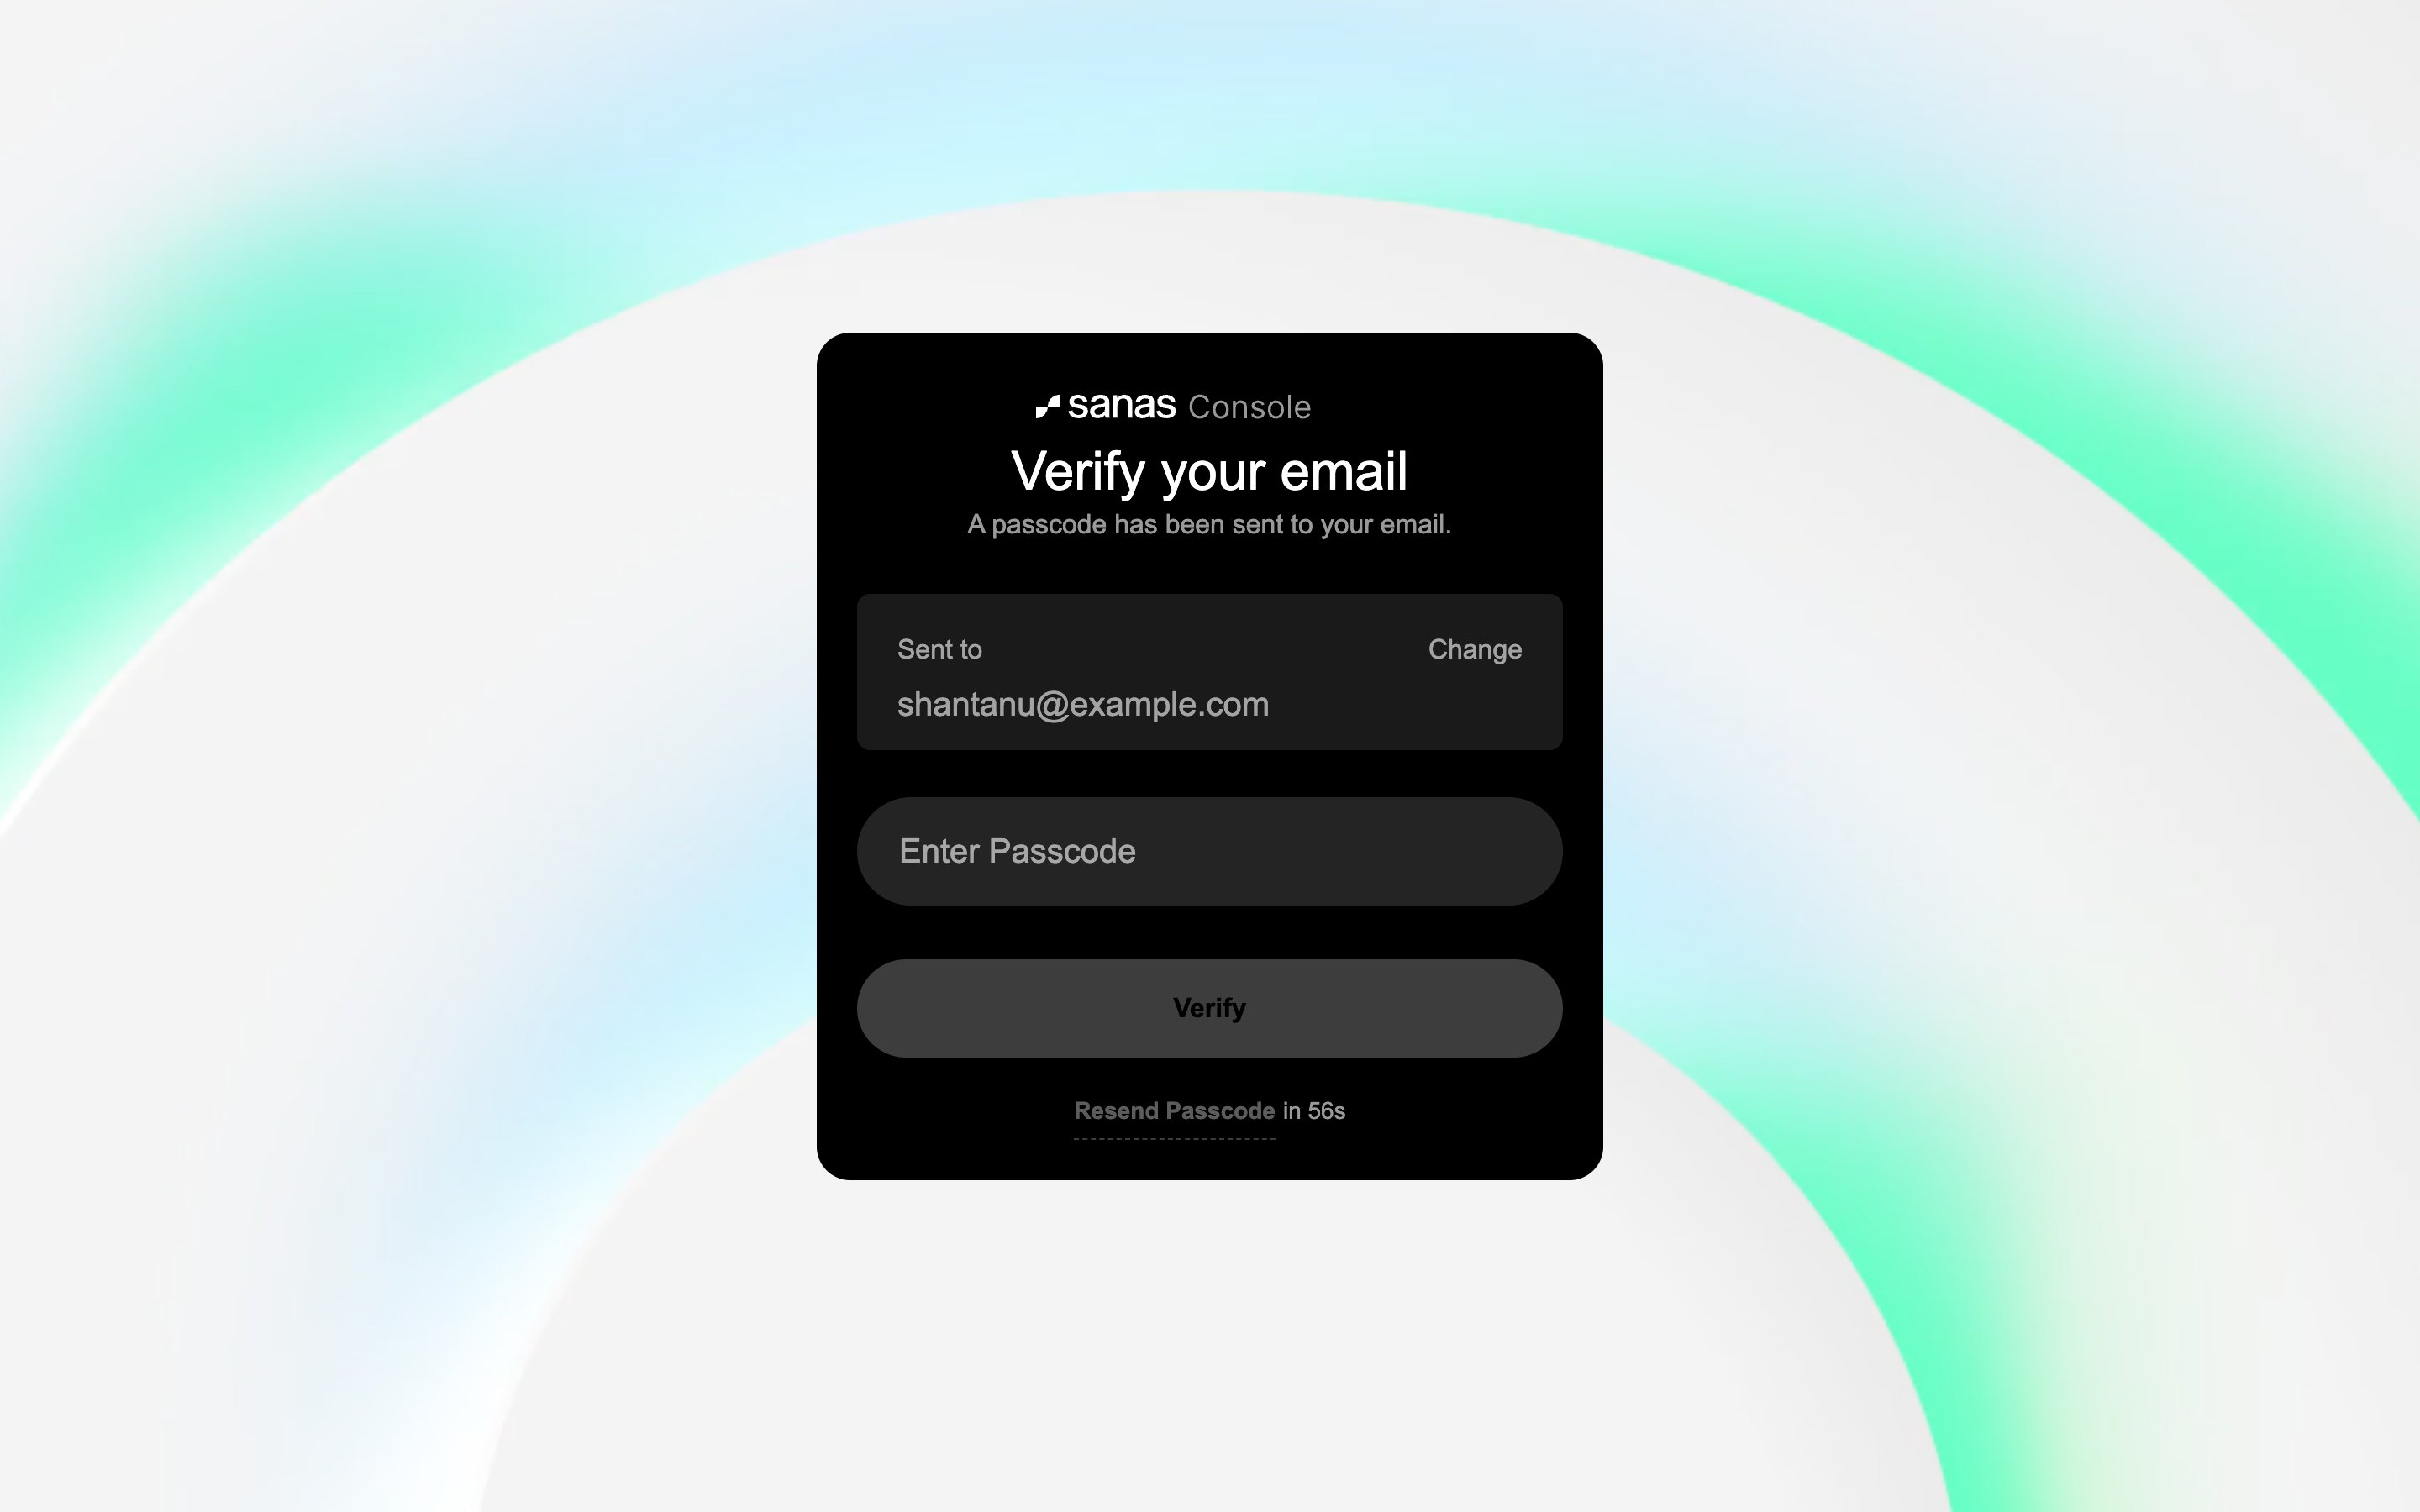
Note The code is time-limited. If it lapses, use Resend Passcode — the link becomes available after the countdown finishes. Change lets you correct the address before requesting a new code.Once verified, your account is created and you’re taken straight into the Console.
Step 3 — Check your free credit
New accounts land on Account & Billing — your prepaid credit wallet. Usage is metered per minute and drawn down from this balance in real time.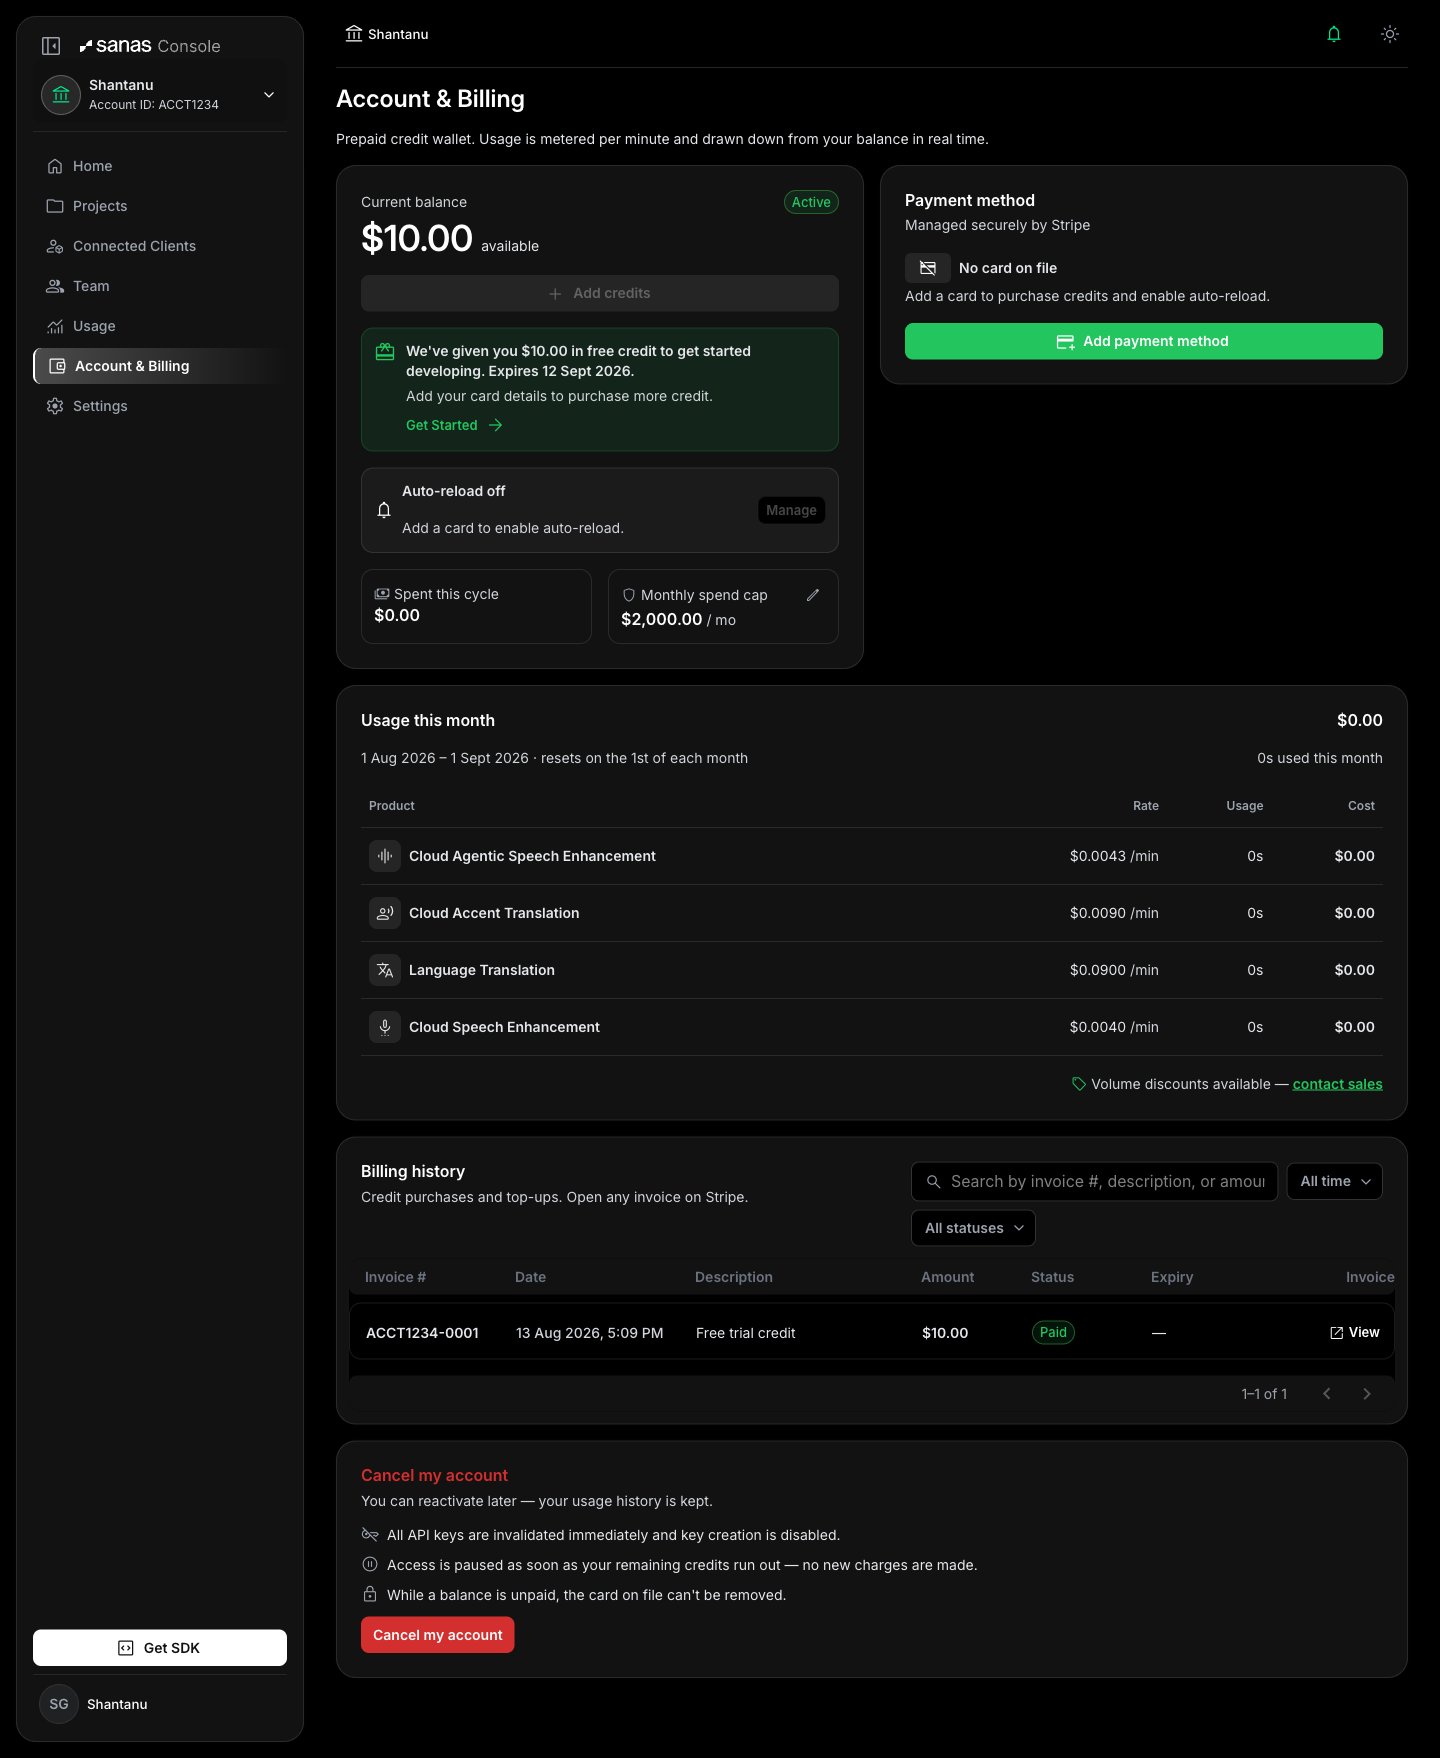
Info Free credit is enough to start developing immediately. You only need a card when you want to purchase additional credit.
Step 4 — Create your first project
Select Home in the left sidebar. On a brand-new account, the Create your first project dialog opens automatically.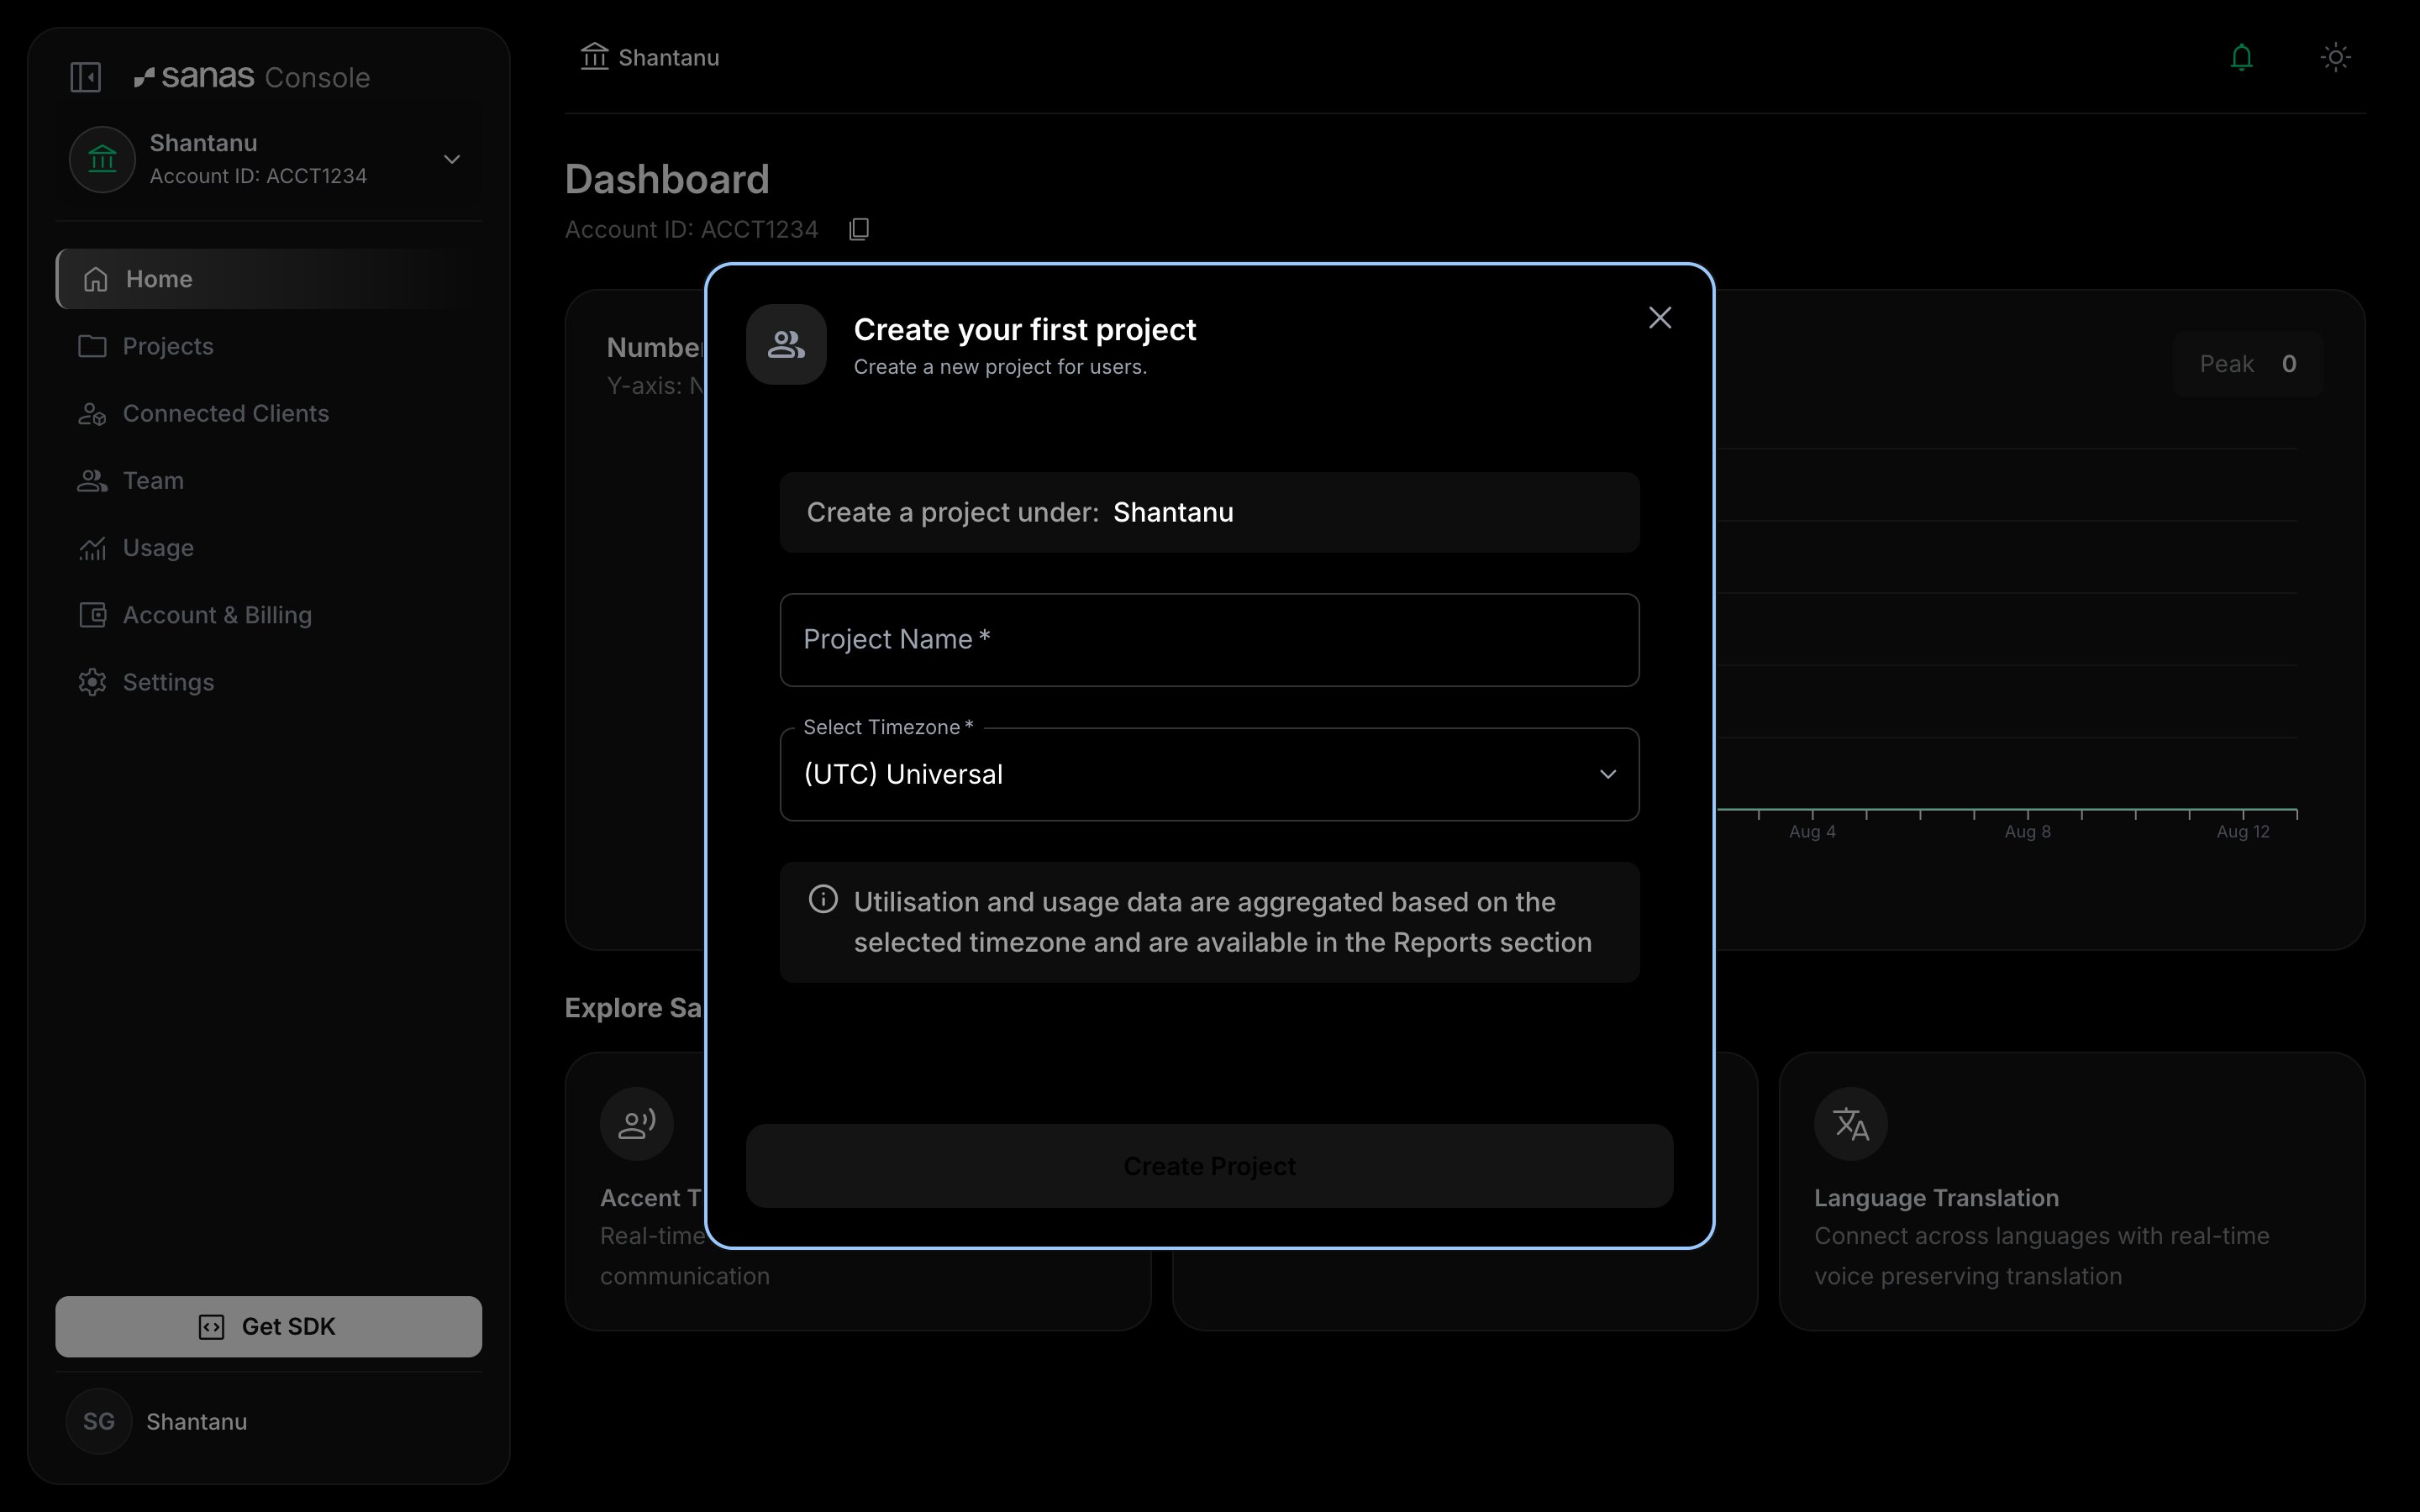
- Project Name —
string, required. A name you’ll recognize later, such asMy First Project. - Select Timezone —
string, required, defaults to(UTC) Universal. Utilisation and usage data are aggregated on this timezone and surfaced in the Reports section. Pick the timezone your team reads reports in.
Note Timezone affects how usage is bucketed into days in reports. Changing it later re-buckets how data is displayed, so choose deliberately up front.
Step 5 — You’re inside the project
Creating the project drops you straight into it. The left sidebar switches from account scope to project scope — note the Project ID under the project name, and the new project-only entries such as Sub Projects and API Keys.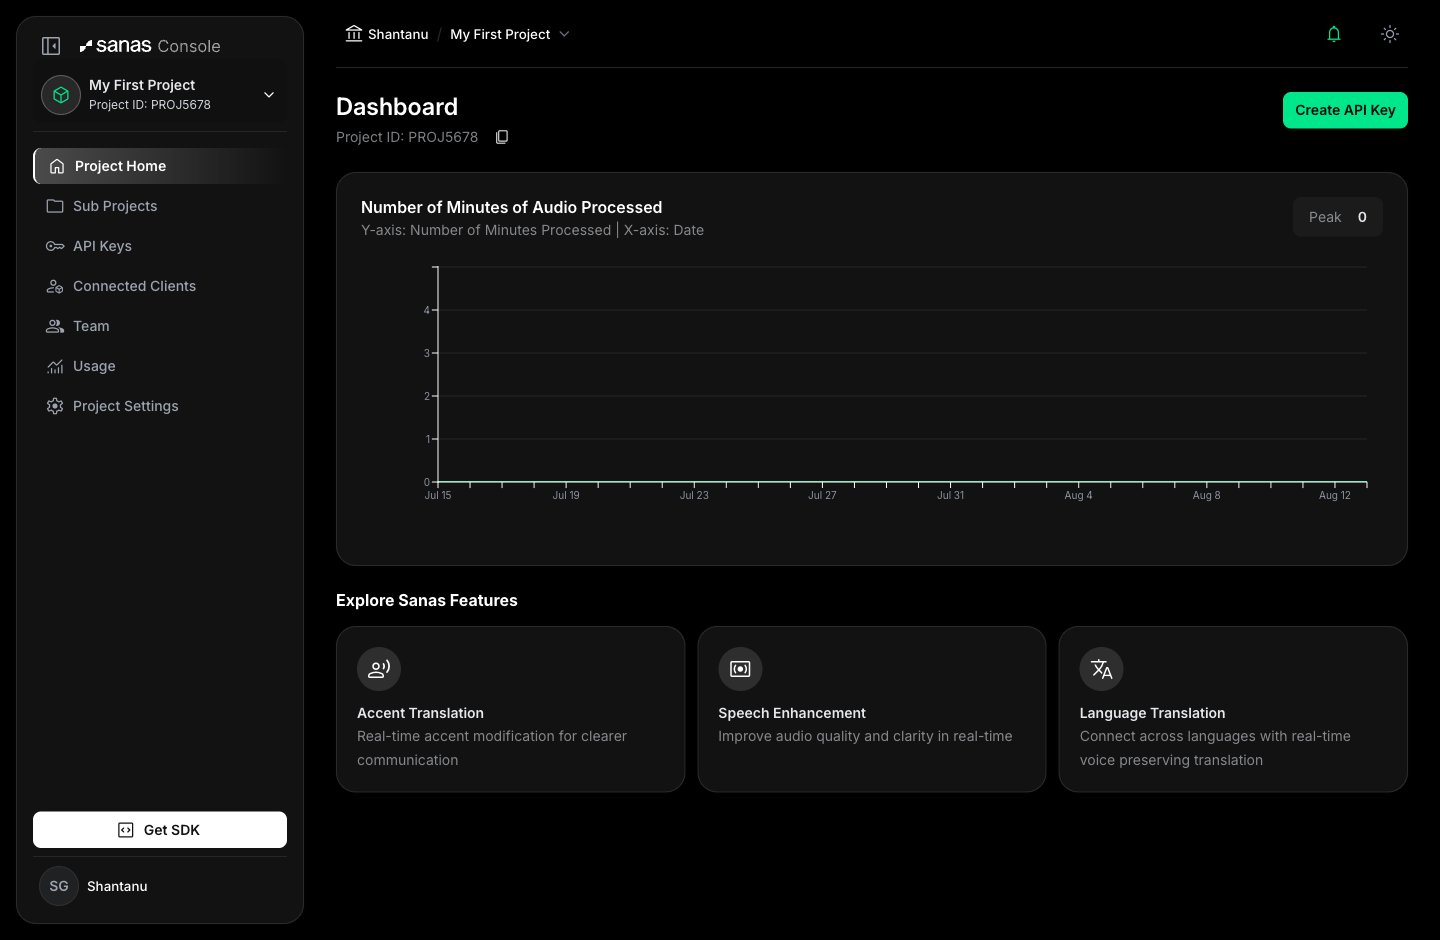
Tip Every project has its own Project ID (visible in the sidebar and under the dashboard heading, with a copy button). Keep it handy — it identifies the project in support conversations and reporting.
Step 6 — Create an API key
From the project dashboard, select Create API Key in the top right.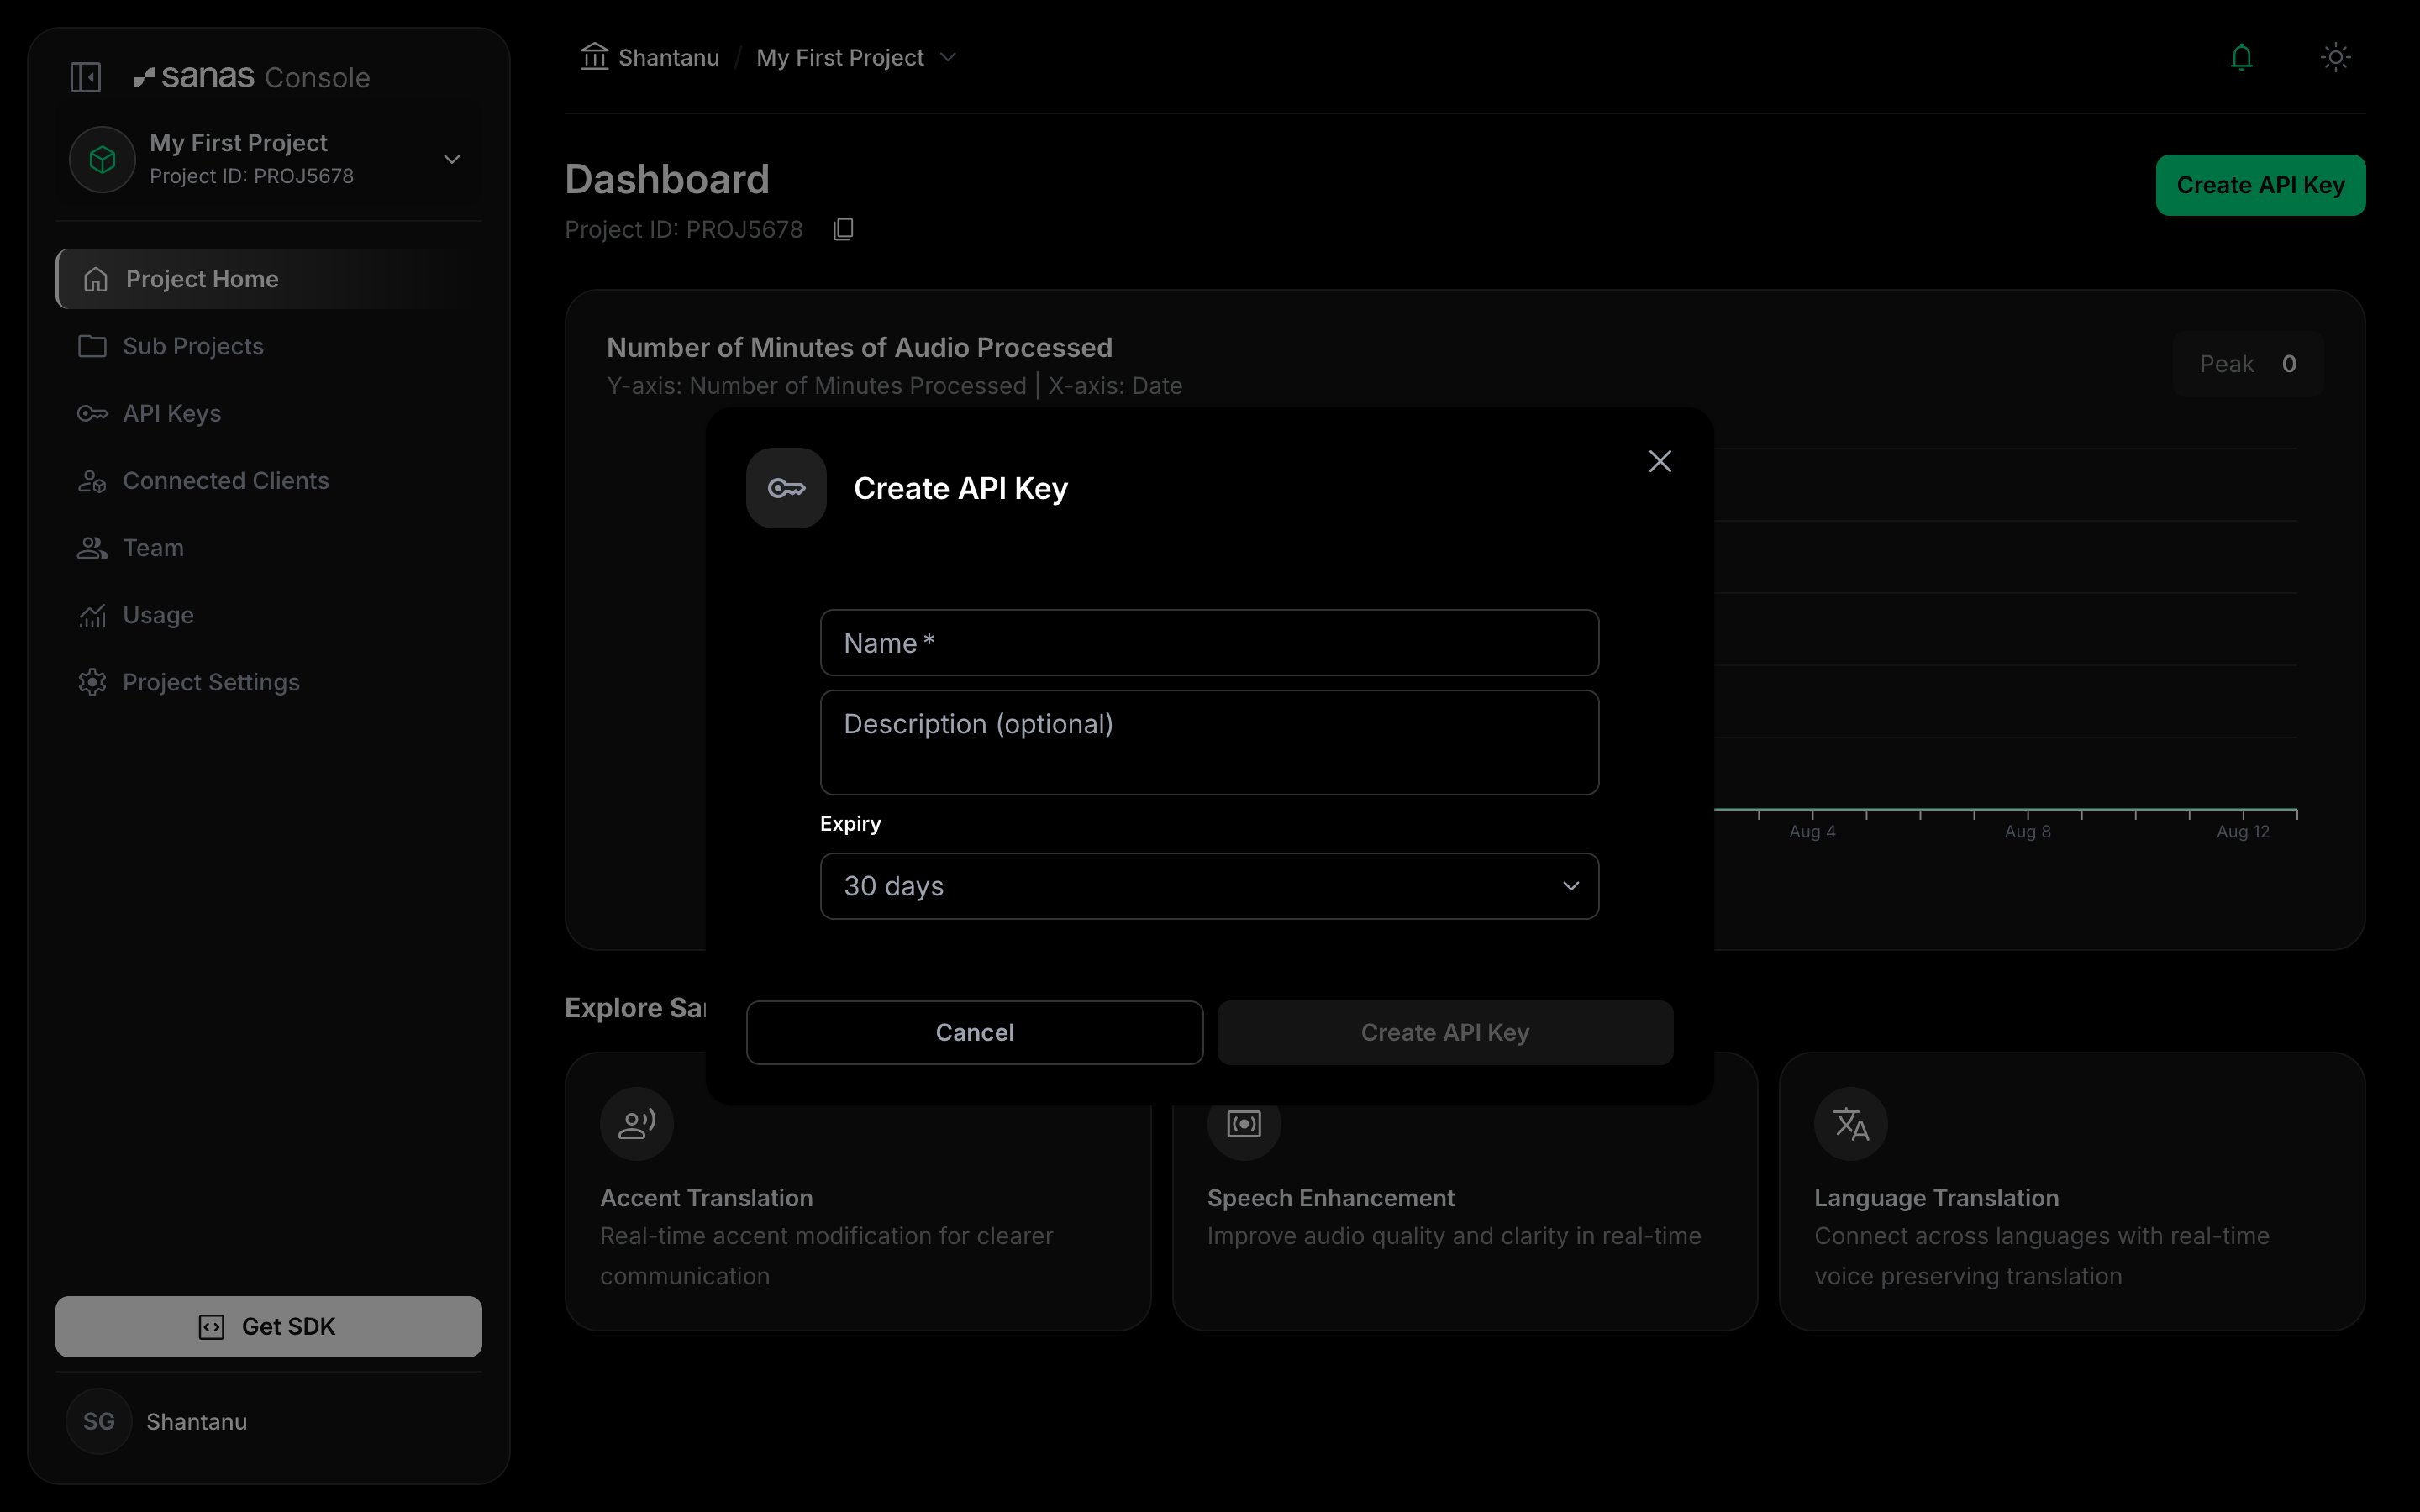
- Name —
string, required. How the key appears in the keys list, for exampleProduction Key. - Description —
string, optional. Context — what the key is used by, and who owns it. - Expiry —
enum, defaults to30 days. One of 30 days, 90 days, 1 year, or No expiry.
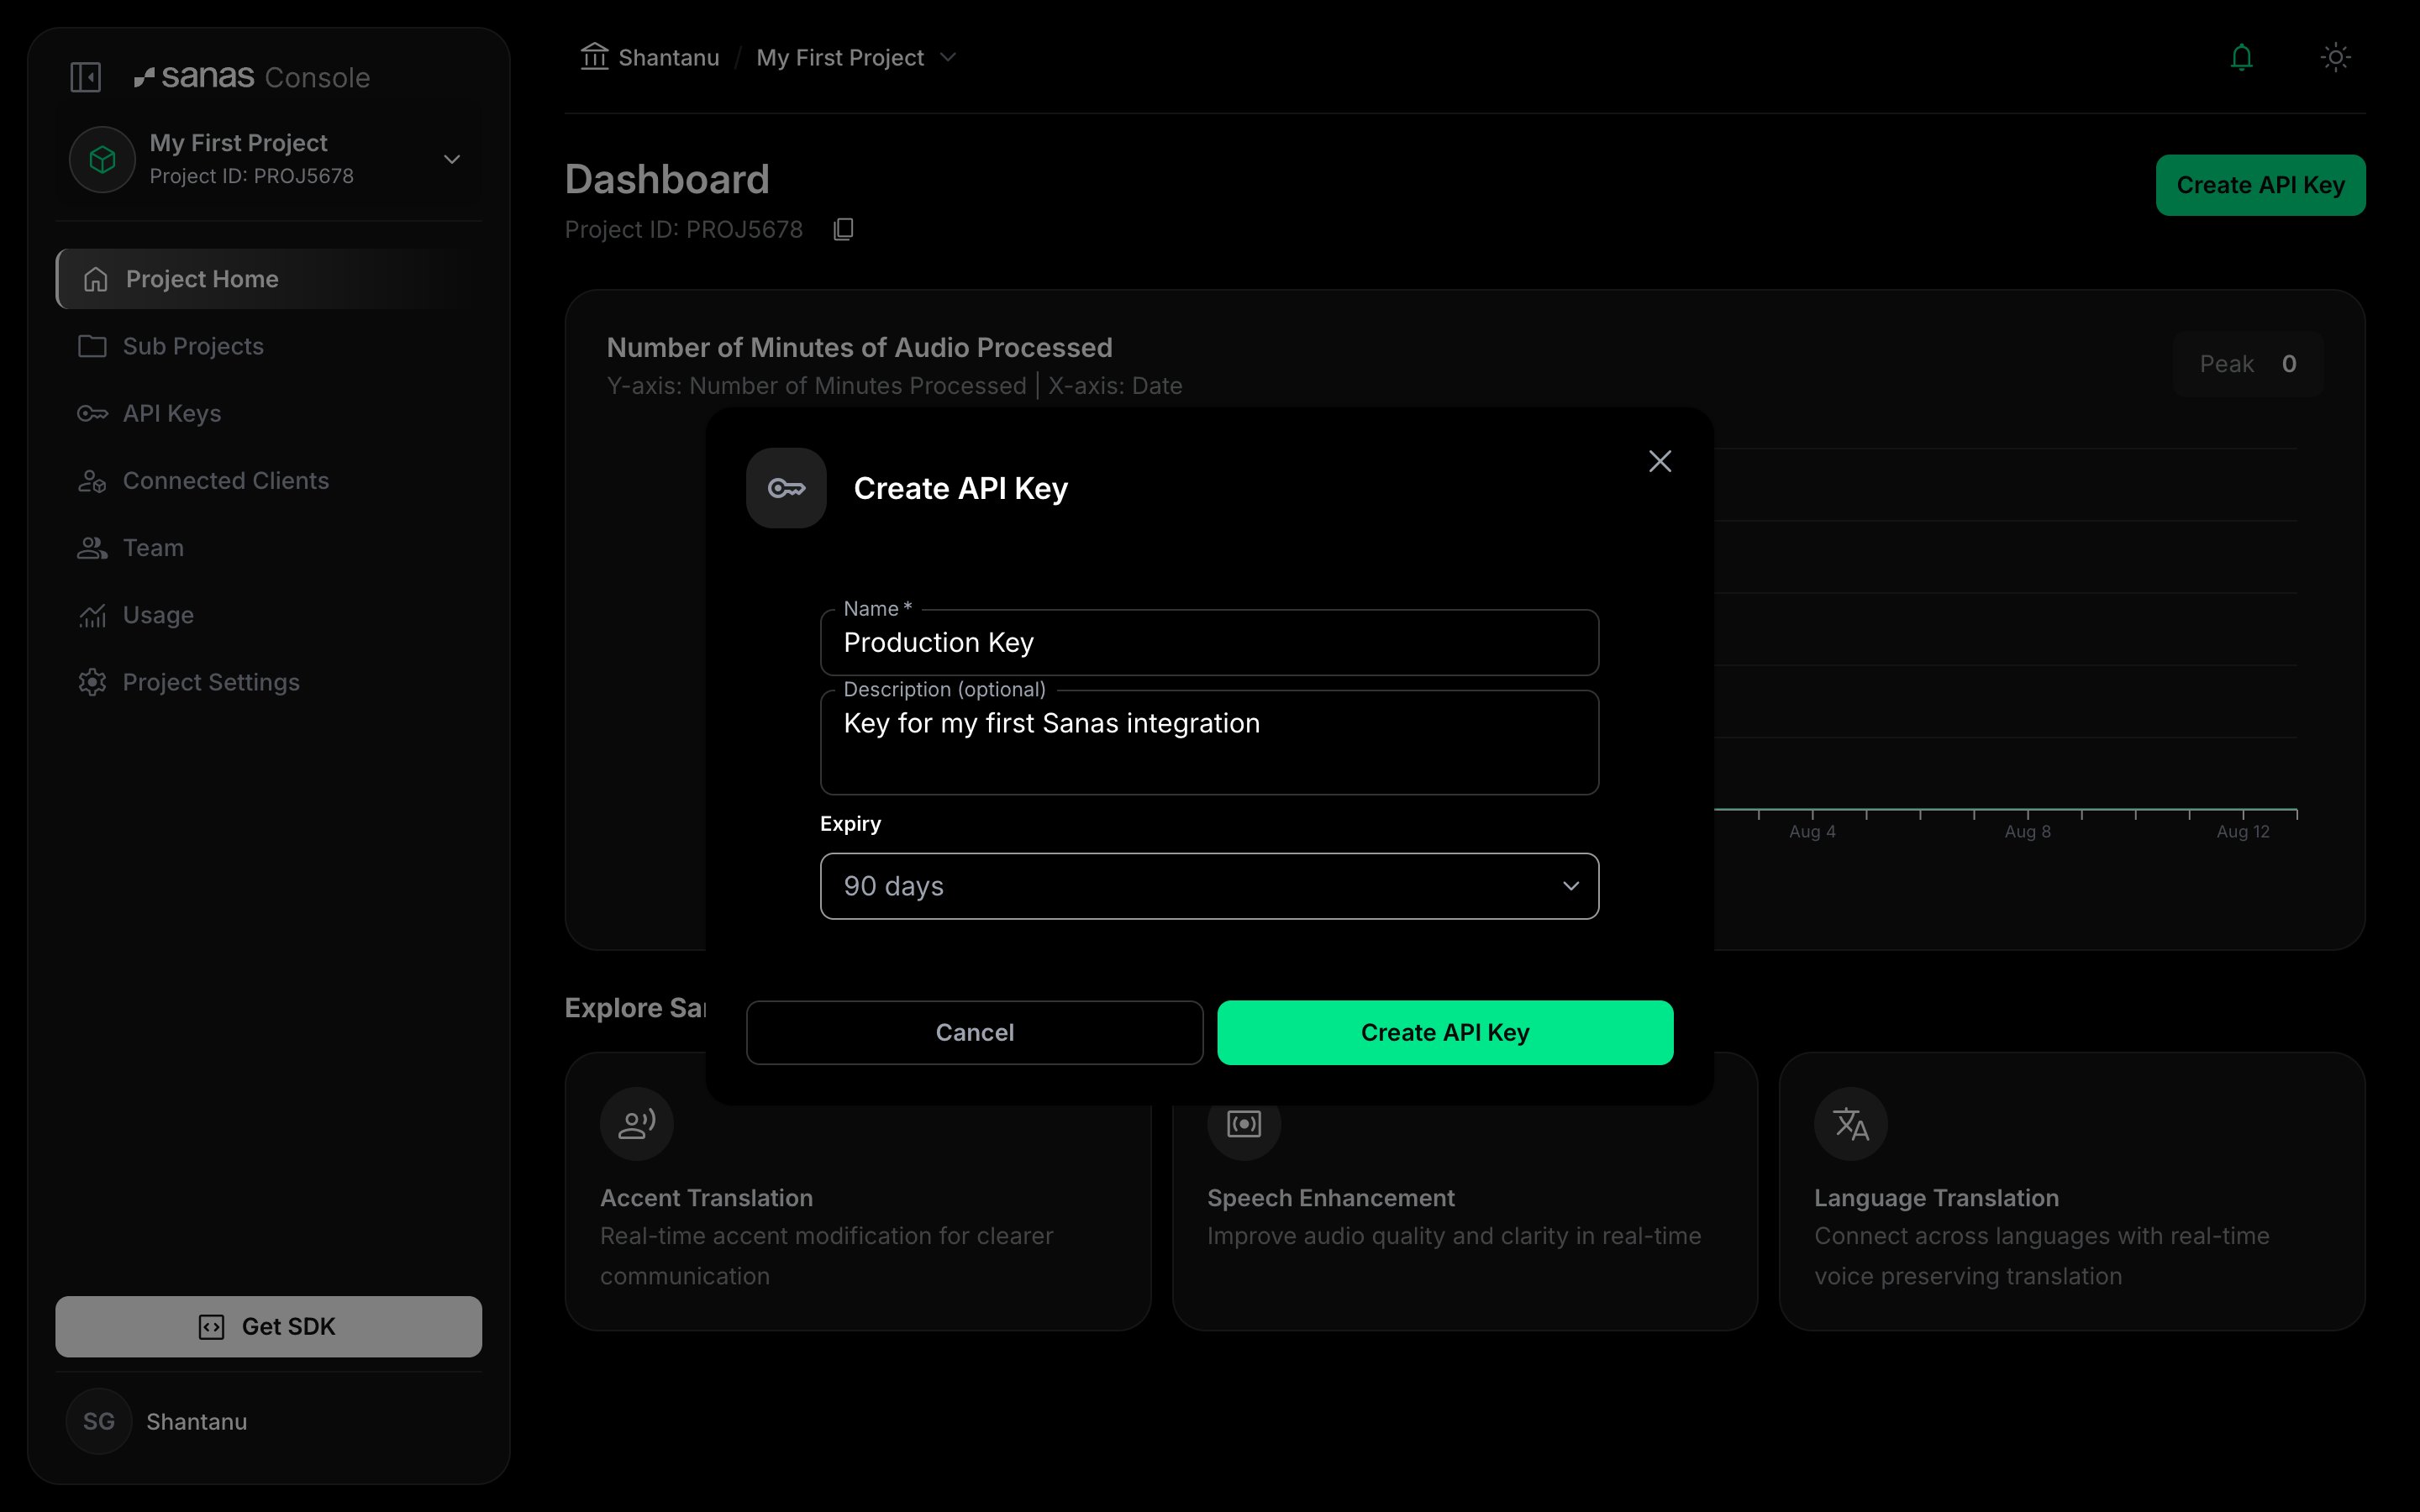
Tip Give each environment and each service its own key. Narrow keys are far easier to rotate or revoke than one shared key wired into everything.
Step 7 — Copy your key and store it somewhere safe
Warning This is the only time the full key is shown. Copy it now and store it in a secrets manager, your CI/CD secret store, or your team’s password manager before you close this dialog. Sanas cannot show it to you again — if you lose it, your only option is to create a replacement key and update every integration that used the old one.
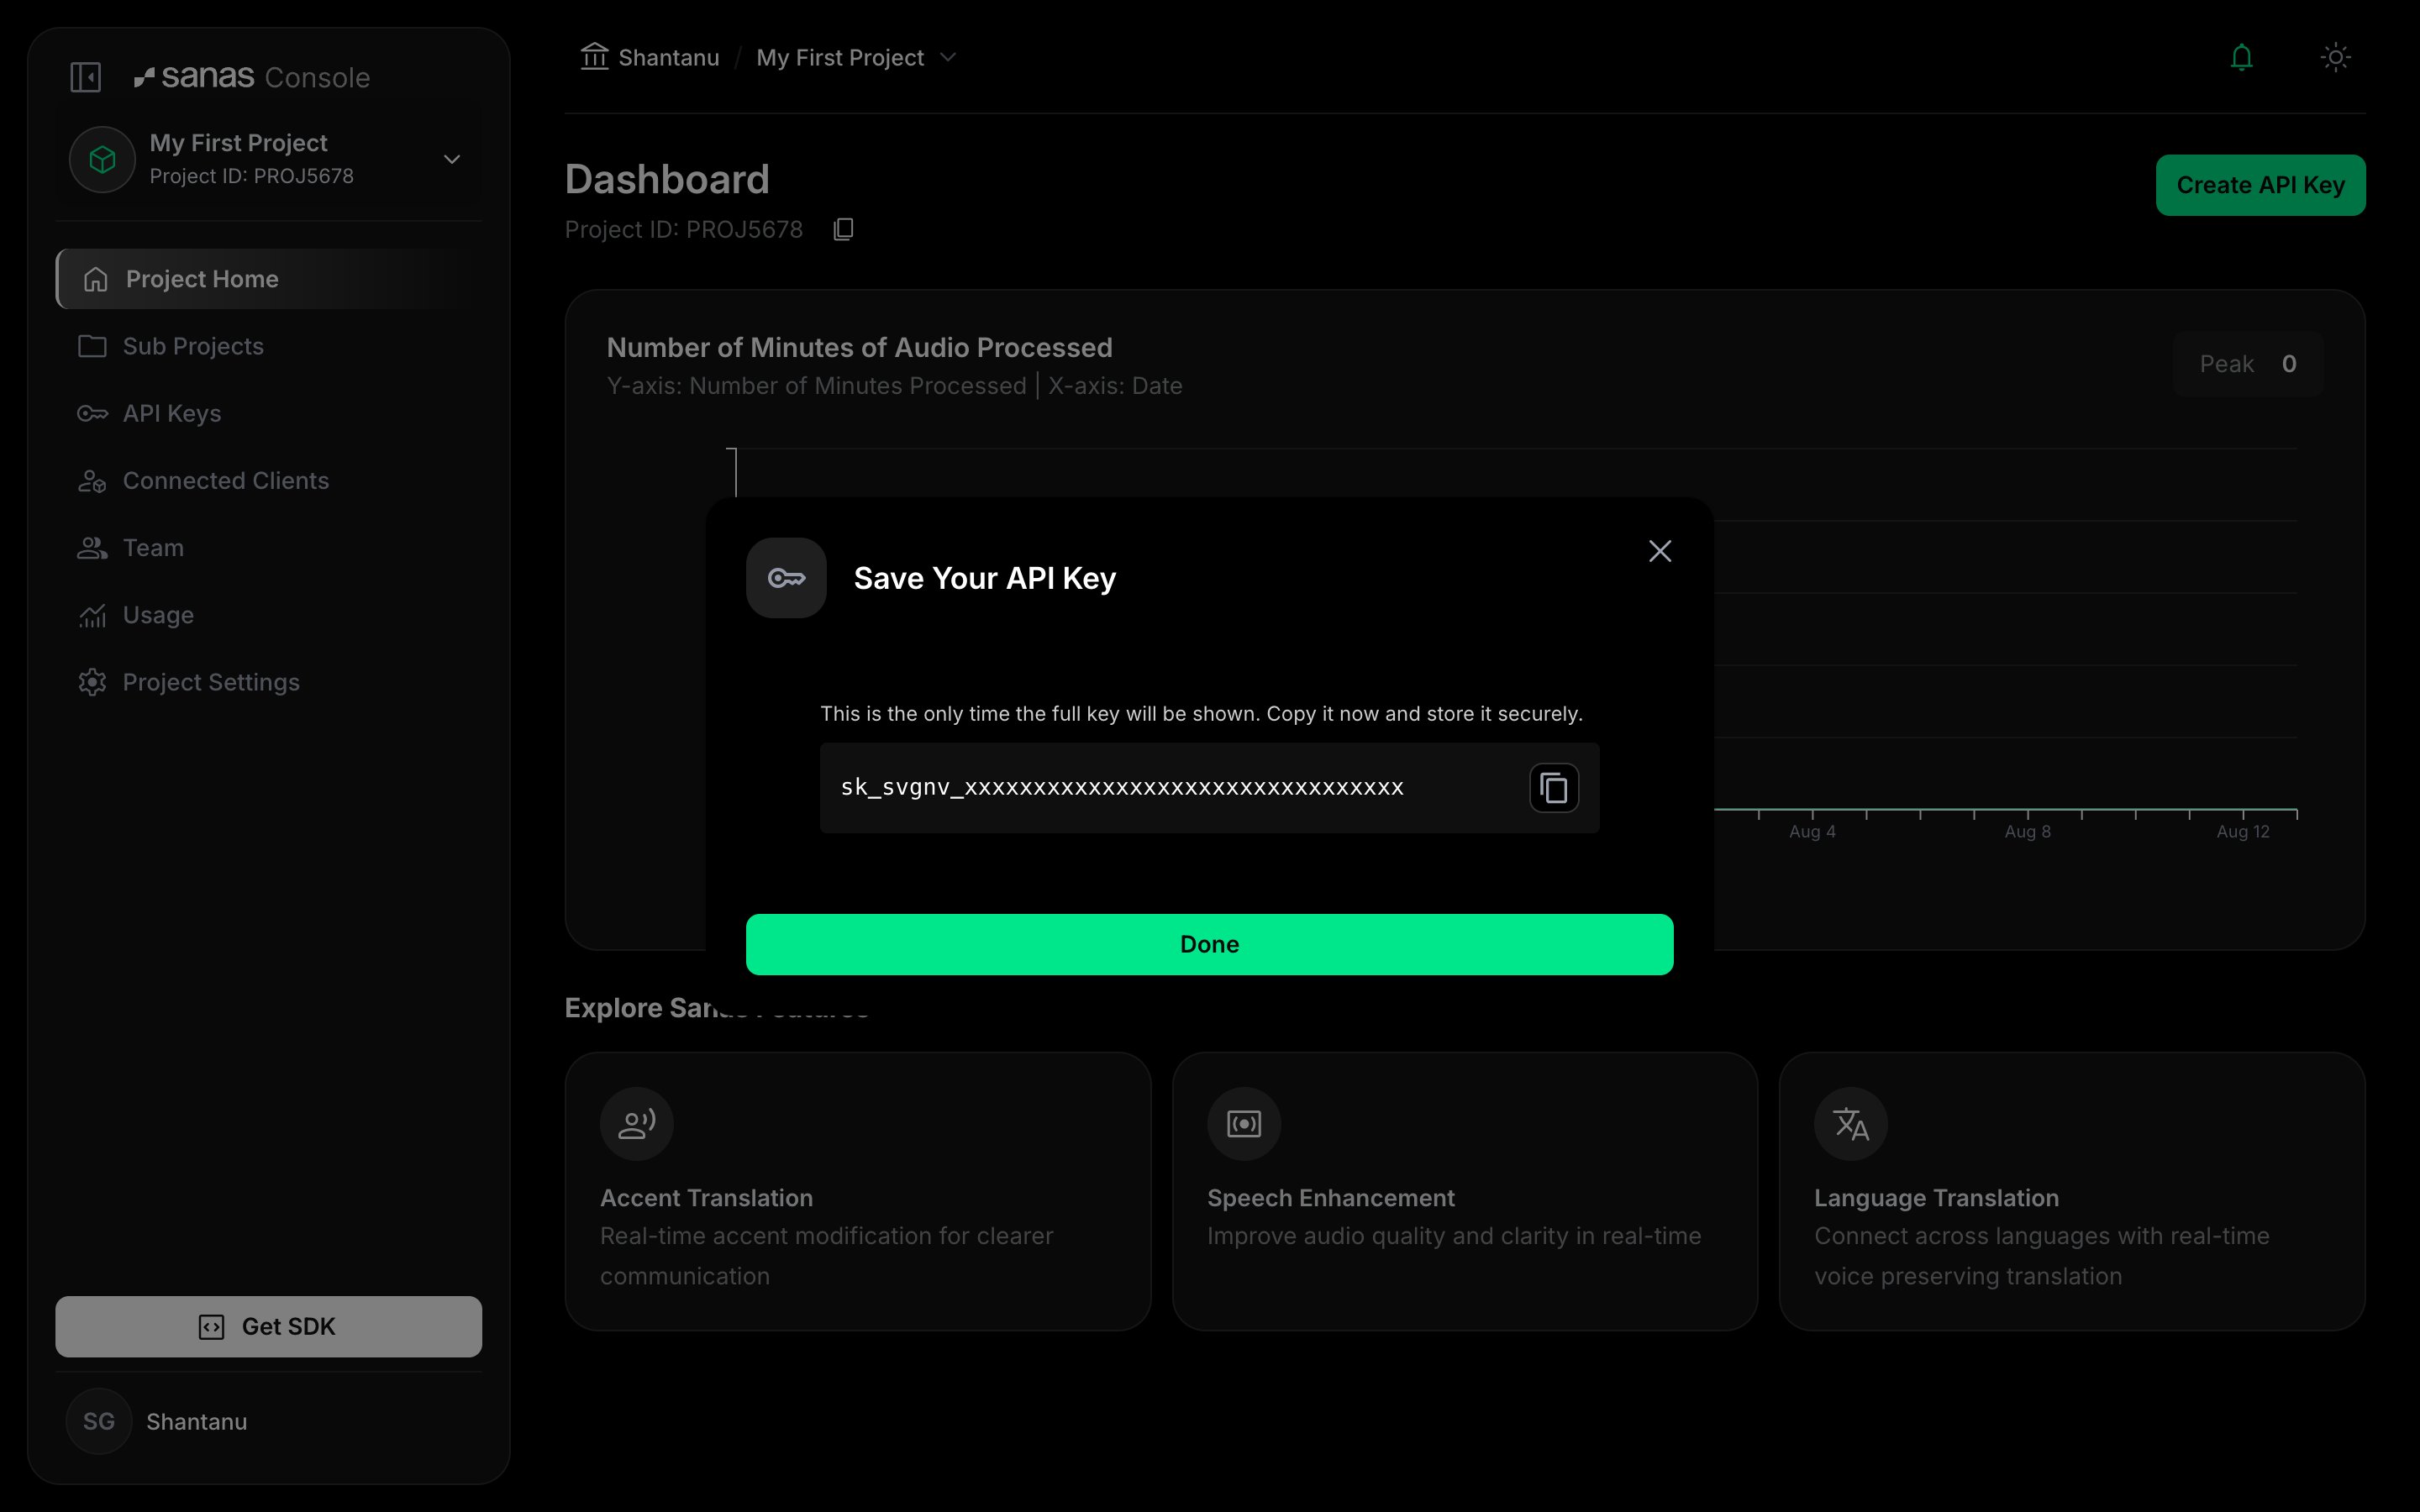
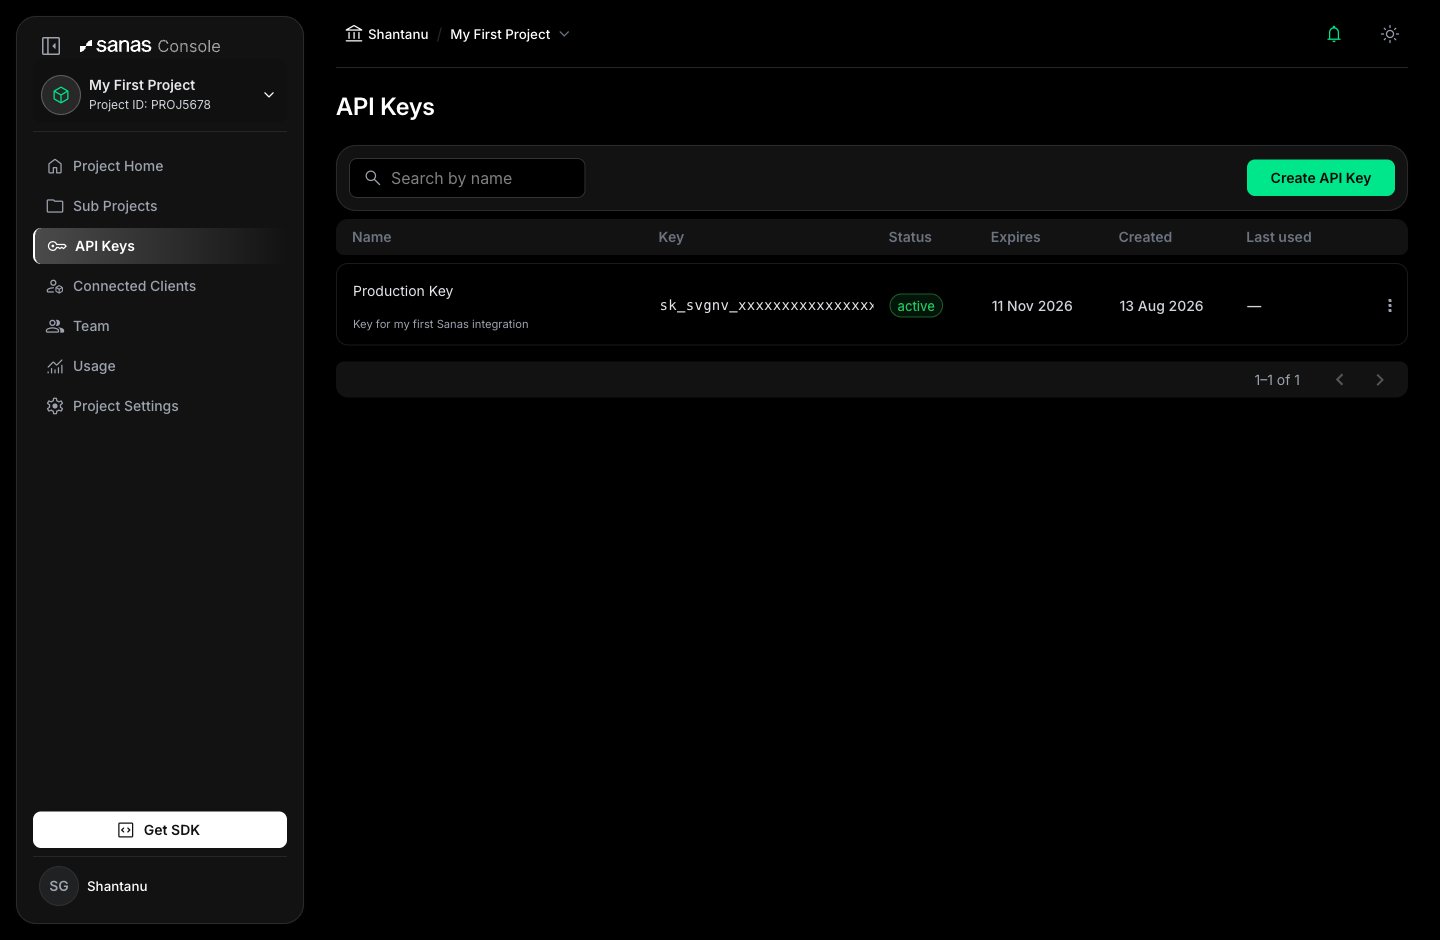
Info Never commit an API key to source control, paste it into a ticket or chat, or ship it in client-side code. Load it from an environment variable or secret manager at runtime.Your key now appears in the project’s API Keys list — permanently masked, showing only its status, expiry, creation date, and last-used timestamp.
Part 2 · Integrate the SDK
With an API key in hand, switch from the Console to your code. The Python package ships as a self-contained wheel: everything the SDK needs is bundled inside it, so there’s no separate native library to install.
Note
The SDK does not open microphones or speakers for you — you bring your own audio (from a file, socket, or media stream). You push frames in with process_frame and read processed frames back.
Step 8 — Download and install the SDK
Select Get SDK at the bottom of the sidebar. Choose your platform and download the SDK package. The same dialog links to the full SDK usage documentation.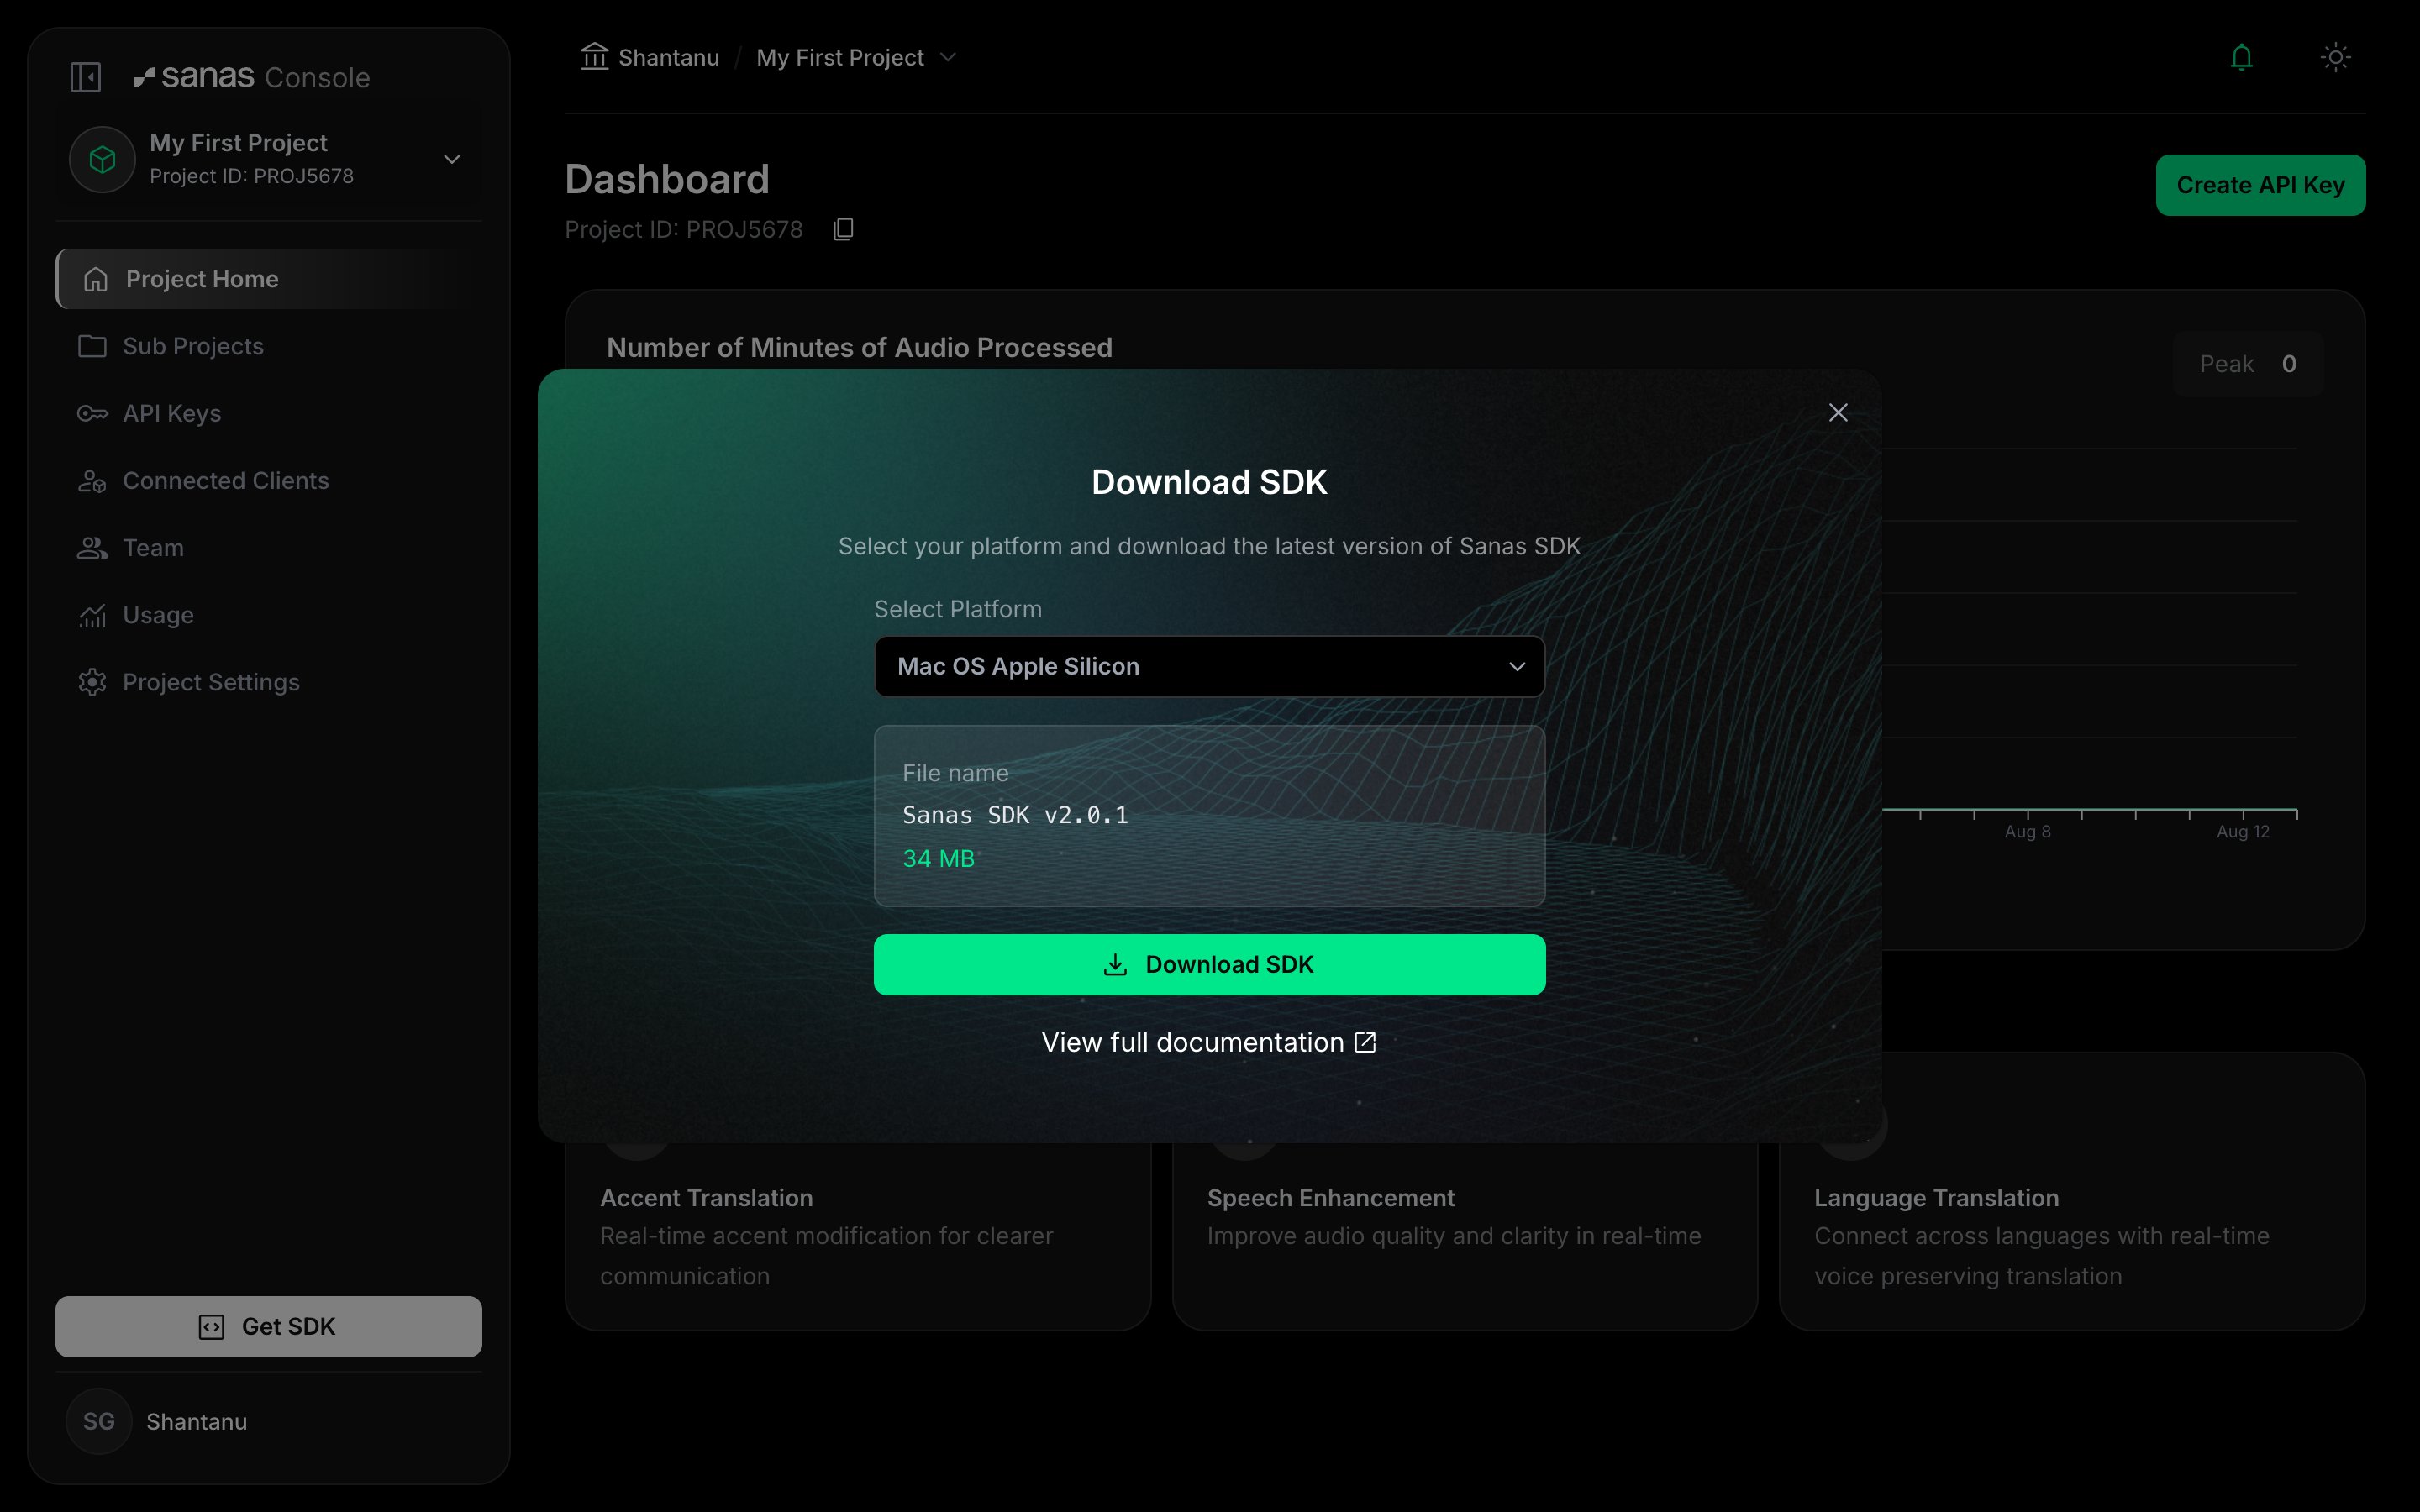
Before you begin — pick the right wheel
You only need a supported CPython interpreter andpip — no extra tooling required. The wheel in your archive targets the Python version named in its filename:
Tip Pick the archive whose<pytag>matches your interpreter (e.g.cp310for Python 3.10;cp312for Python 3.12 or newer).
Direct download links by platform
You can also download outside the Console:Archive layout
Your archive is laid out like this:Step 9 — Verify the installation
Step 10 — Choose your capability and model
The SDK runs in one of two modes. The setup flow is identical — you alwayscreate_sdk → activate_api_key → create_audio_processor and wait for PipelineState.RUNNING — but how you select the mode and what you get back differ:
For audio processing, set
model_name to one of the model keys enabled for your account:
Note
This page covers Language Translation inside the Python SDK (selected via lt_config). Sanas also offers a standalone, browser-friendly Language Translation API (JavaScript client) for real-time speech-to-speech in the browser — use that instead of the SDK if you’re building a web app.
Step 11 — Process your first audio stream
Two things to understand before reading the code:- The pipeline initializes asynchronously. After you create a processor, wait for
PipelineState.RUNNING(via theaudio_pipeline_state_notifycallback) before feeding frames. process_frameis synchronous but expects real-time audio. Feed frames at the rate they would arrive live (one 20 ms frame every 20 ms). The snippets below pace with a monotonic-clock deadline so timing doesn’t drift.
model_name; Language Translation leaves it empty and passes an lt_config instead. Pass the API key you copied in Step 7 as YOUR_API_KEY.
Option A — Audio Processing
Createsdk_example.py and set model_name to one of your enabled model keys.
Tipexamples/helpers.pyprovidesPipelineWaiter,sleep_until, andfeed_and_drain, which wrap steps 3–4 above — prefer them over hand-rolling the loop.
Option B — Language Translation
Language Translation is selected by the presence oflt_config (not by a model key), so leave model_name empty. Translated audio comes back from process_frame; transcripts arrive on the lt_config callback.
Note Because translation runs speech-to-text, translation, and text-to-speech end to end, it adds several seconds of latency. Keep the extended silence-drain loop (~5 s) so the translated tail is pulled back after your input ends — this is the main runtime difference from audio processing.
Tip Building for the browser instead of a Python backend? Use the standalone Language Translation API (JavaScript client) rather than the SDK path shown here.
Cloud inference tuning (optional)
When the SDK runs on cloud / remote inference (the default), you can pass aCloudInferencingParams on AudioAttributes.cloud_inferencing_params to tune the remote path. These parameters are only meaningful for cloud inference and are ignored for local inference. The field is optional — omit it to keep the defaults.
Note LeaveOnce the SDK is initialized with a valid key and a model, you can start running inference. Every stream you process is metered against the project that owns the key.cloud_inferencing_paramsunset (oruse_pcm16=False) unless you specifically need raw PCM uplink — the rate-default codec is the recommended default for most sessions.
Step 12 — Run the examples
Theexamples/ folder is self-contained (standard-library helpers only, no numpy). With your venv active, set the required environment variables and run an example from inside the extracted archive:
NoteSANAS_STORAGE_DIRis where the SDK keeps its data and writes logs (understorage_dir/logs).
Part 3 · Monitor usage and manage the account
Step 13 — Switch between projects and your account
The Console has two scopes, and knowing how to move between them is the key to reading your data correctly.- Account scope — everything across all projects: total usage, the credit wallet, billing, team, and account settings.
- Project scope — one project only: its API keys, sub projects, connected clients, and its own usage.
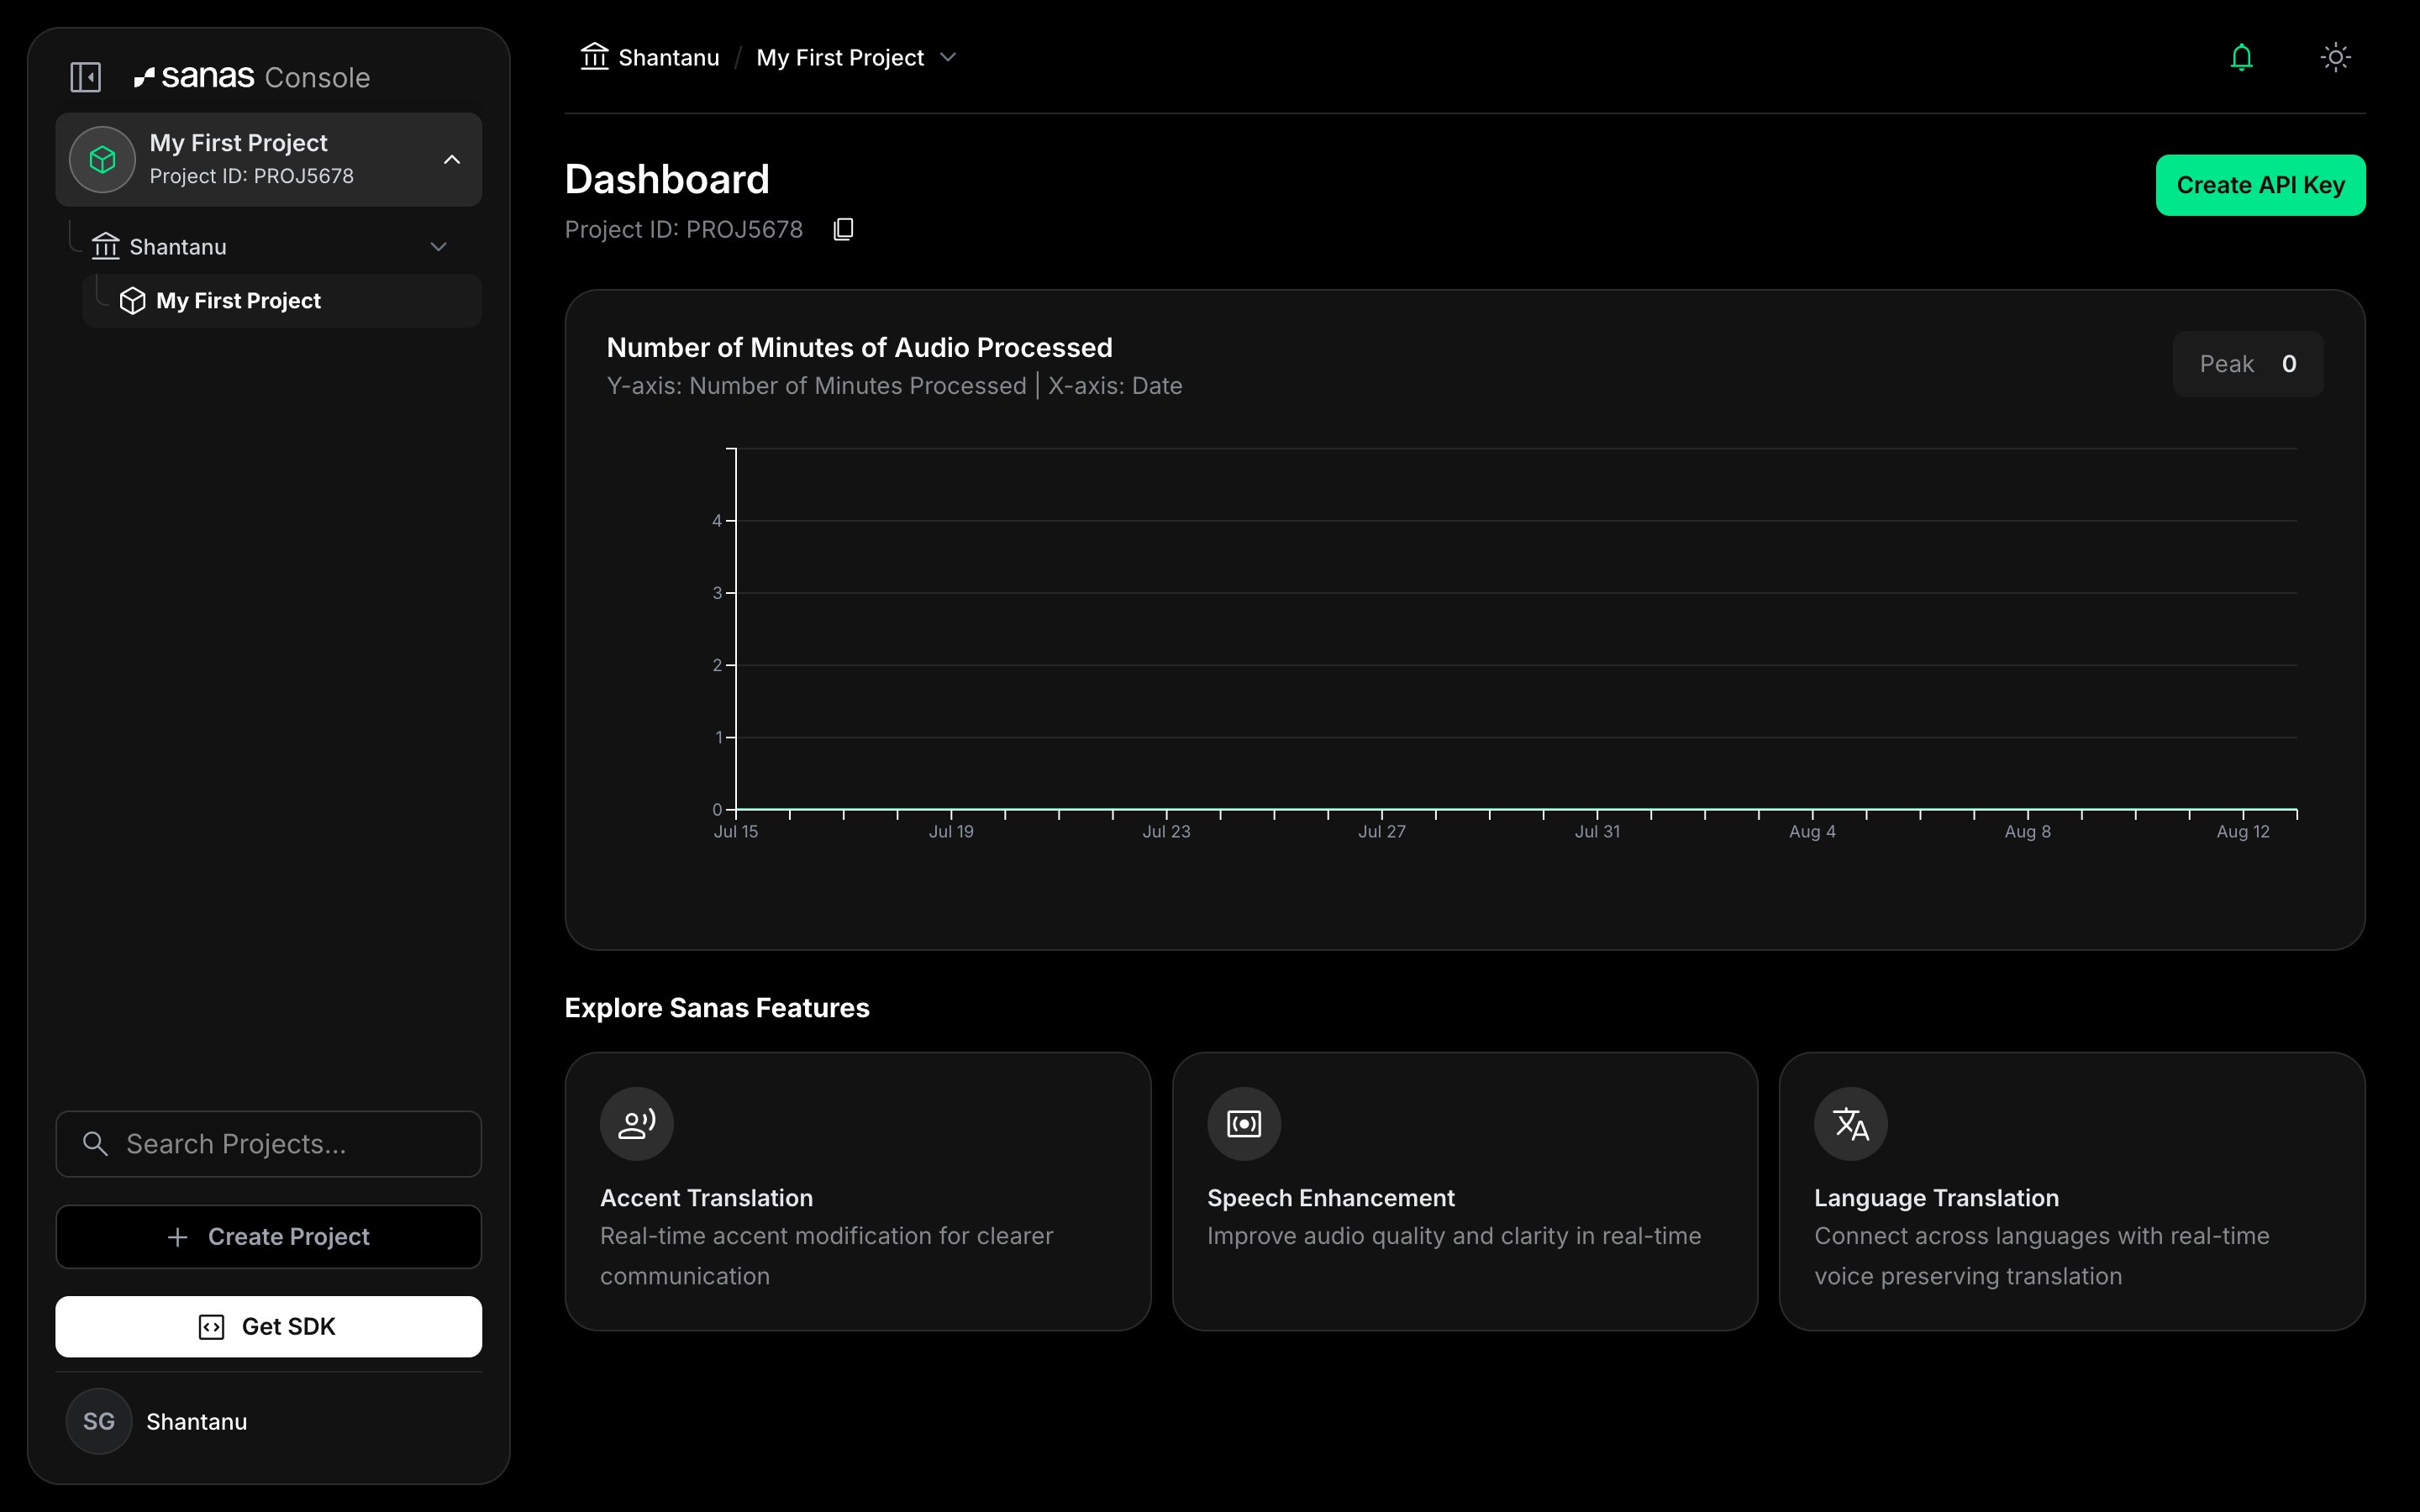
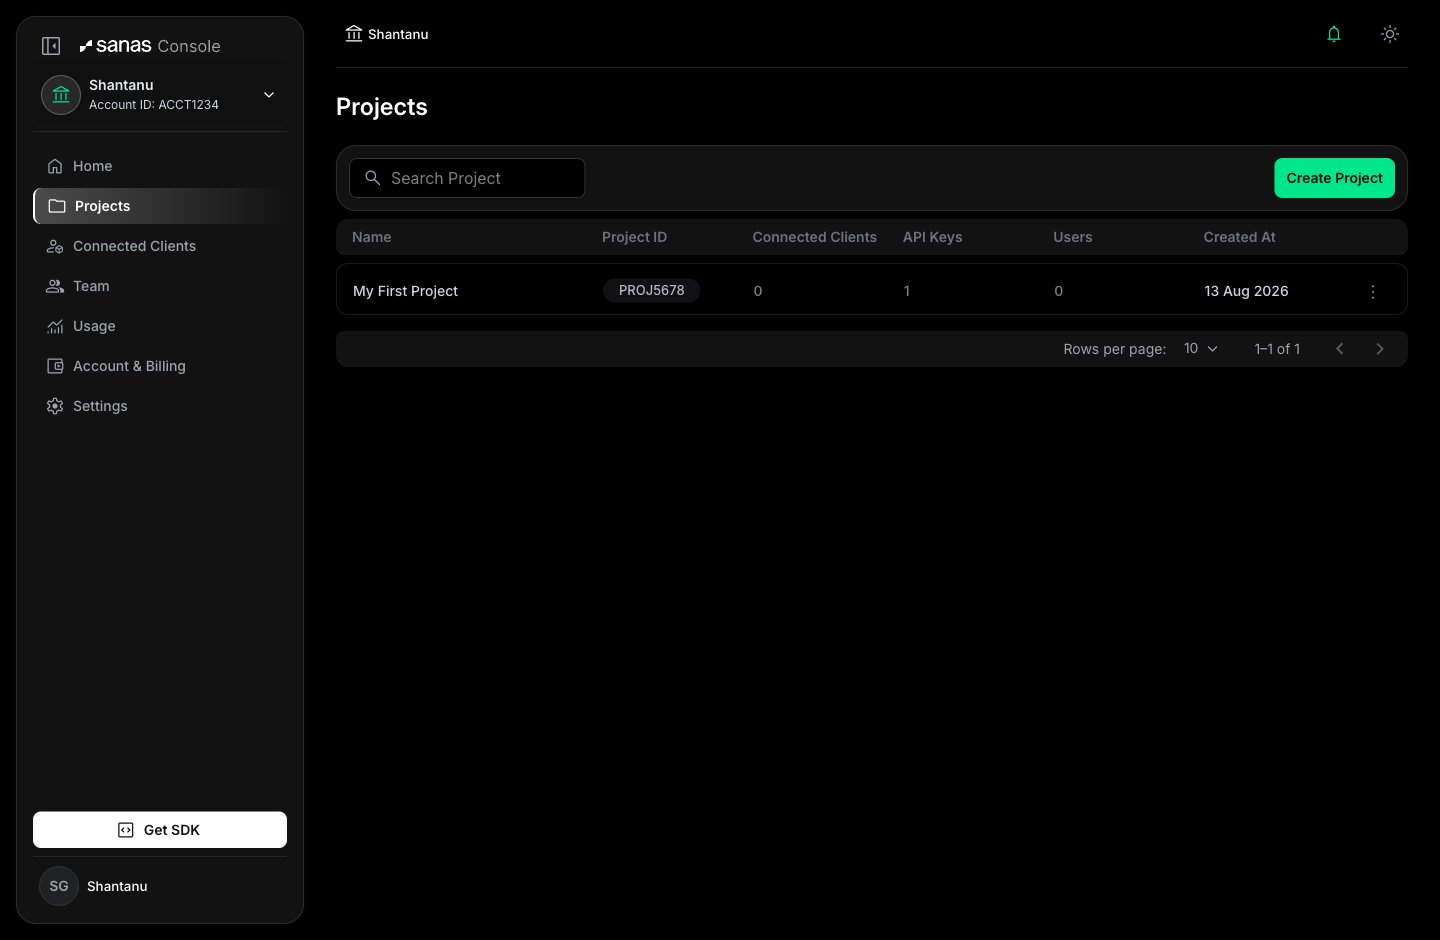
Tip The dropdown also holds Search Projects… and + Create Project, so this is the fastest way to add projects two and beyond — the automatic first-project dialog only appears once.You can also browse every project from Projects in the account sidebar, which shows each project’s ID, API key count, connected clients, and creation date.
Step 14 — Watch usage and credit move
Once inference is running through the SDK, the Console reflects it in two places.Usage in the project
Open Usage inside the project to see only what that project’s keys processed — streams processed, audio minutes, and average stream duration, with charts over time. Filter by product and by date range.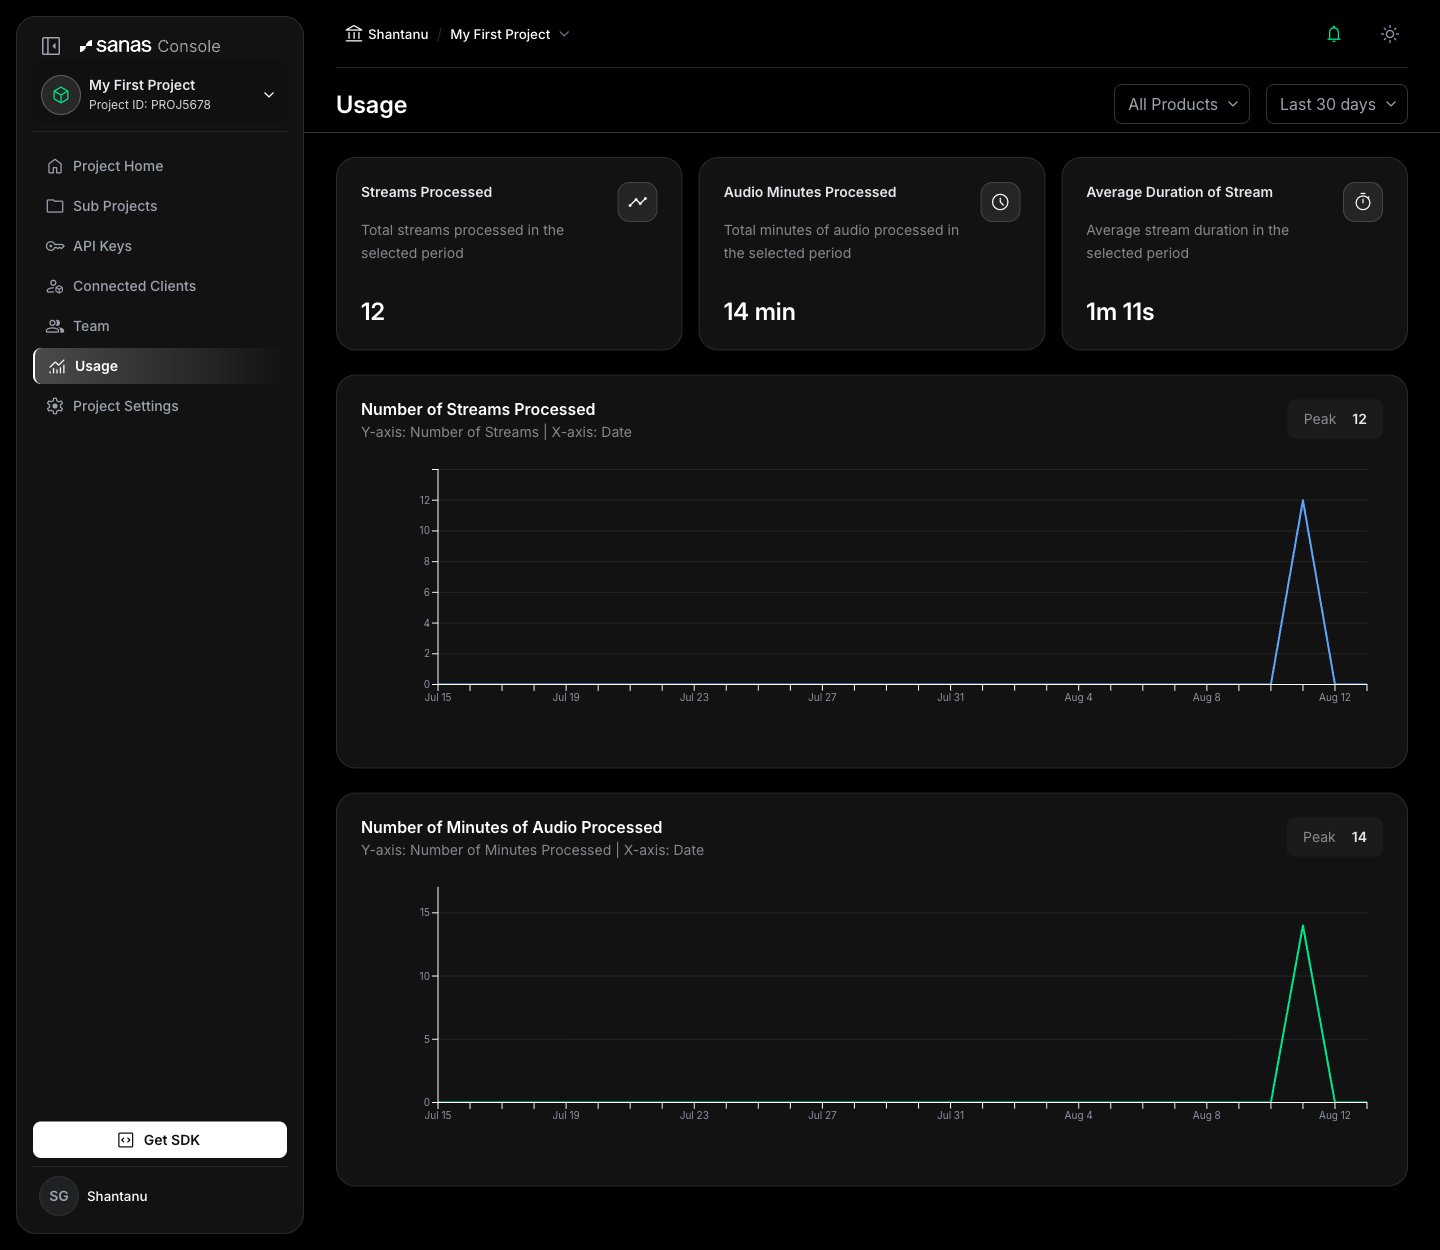
Usage across the account
Now switch to the account using the sidebar switcher and open Usage there. Same metrics, aggregated across every project — this is the number to watch as you add projects.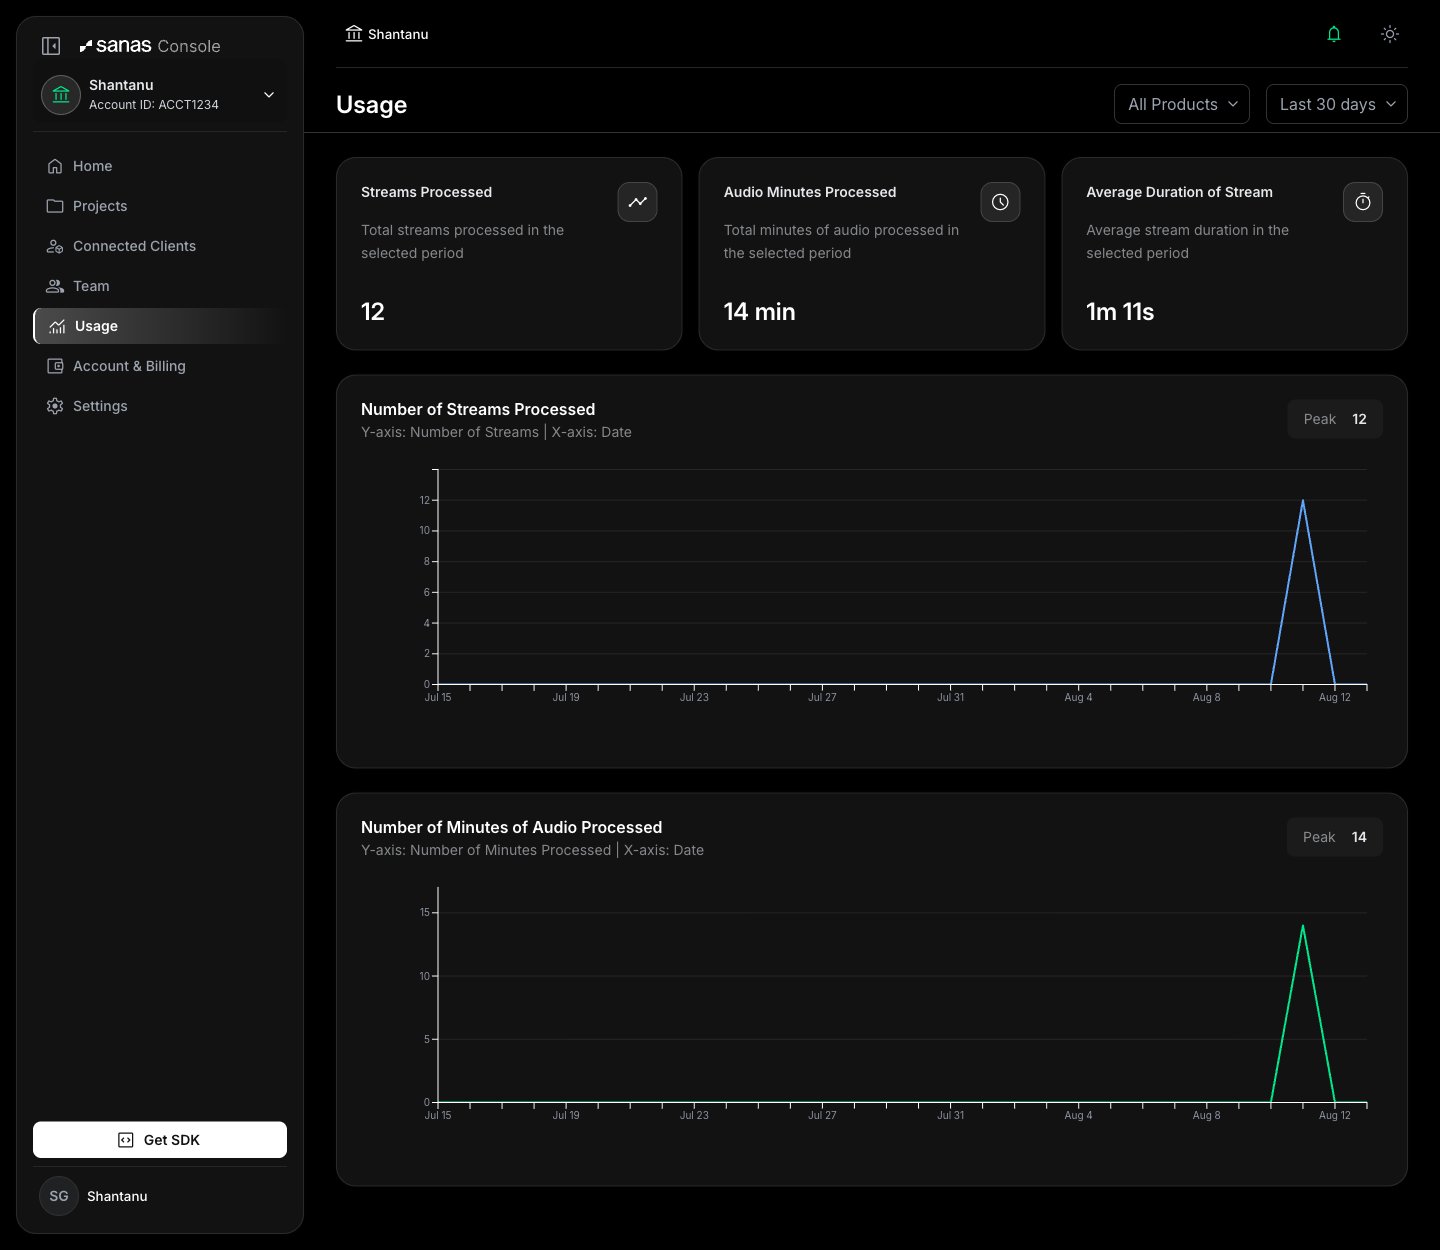
Tip With a single project the two views match. Once you add projects, the account view is the only place the totals line up — a project view can never show you the whole bill.
Credit drawing down
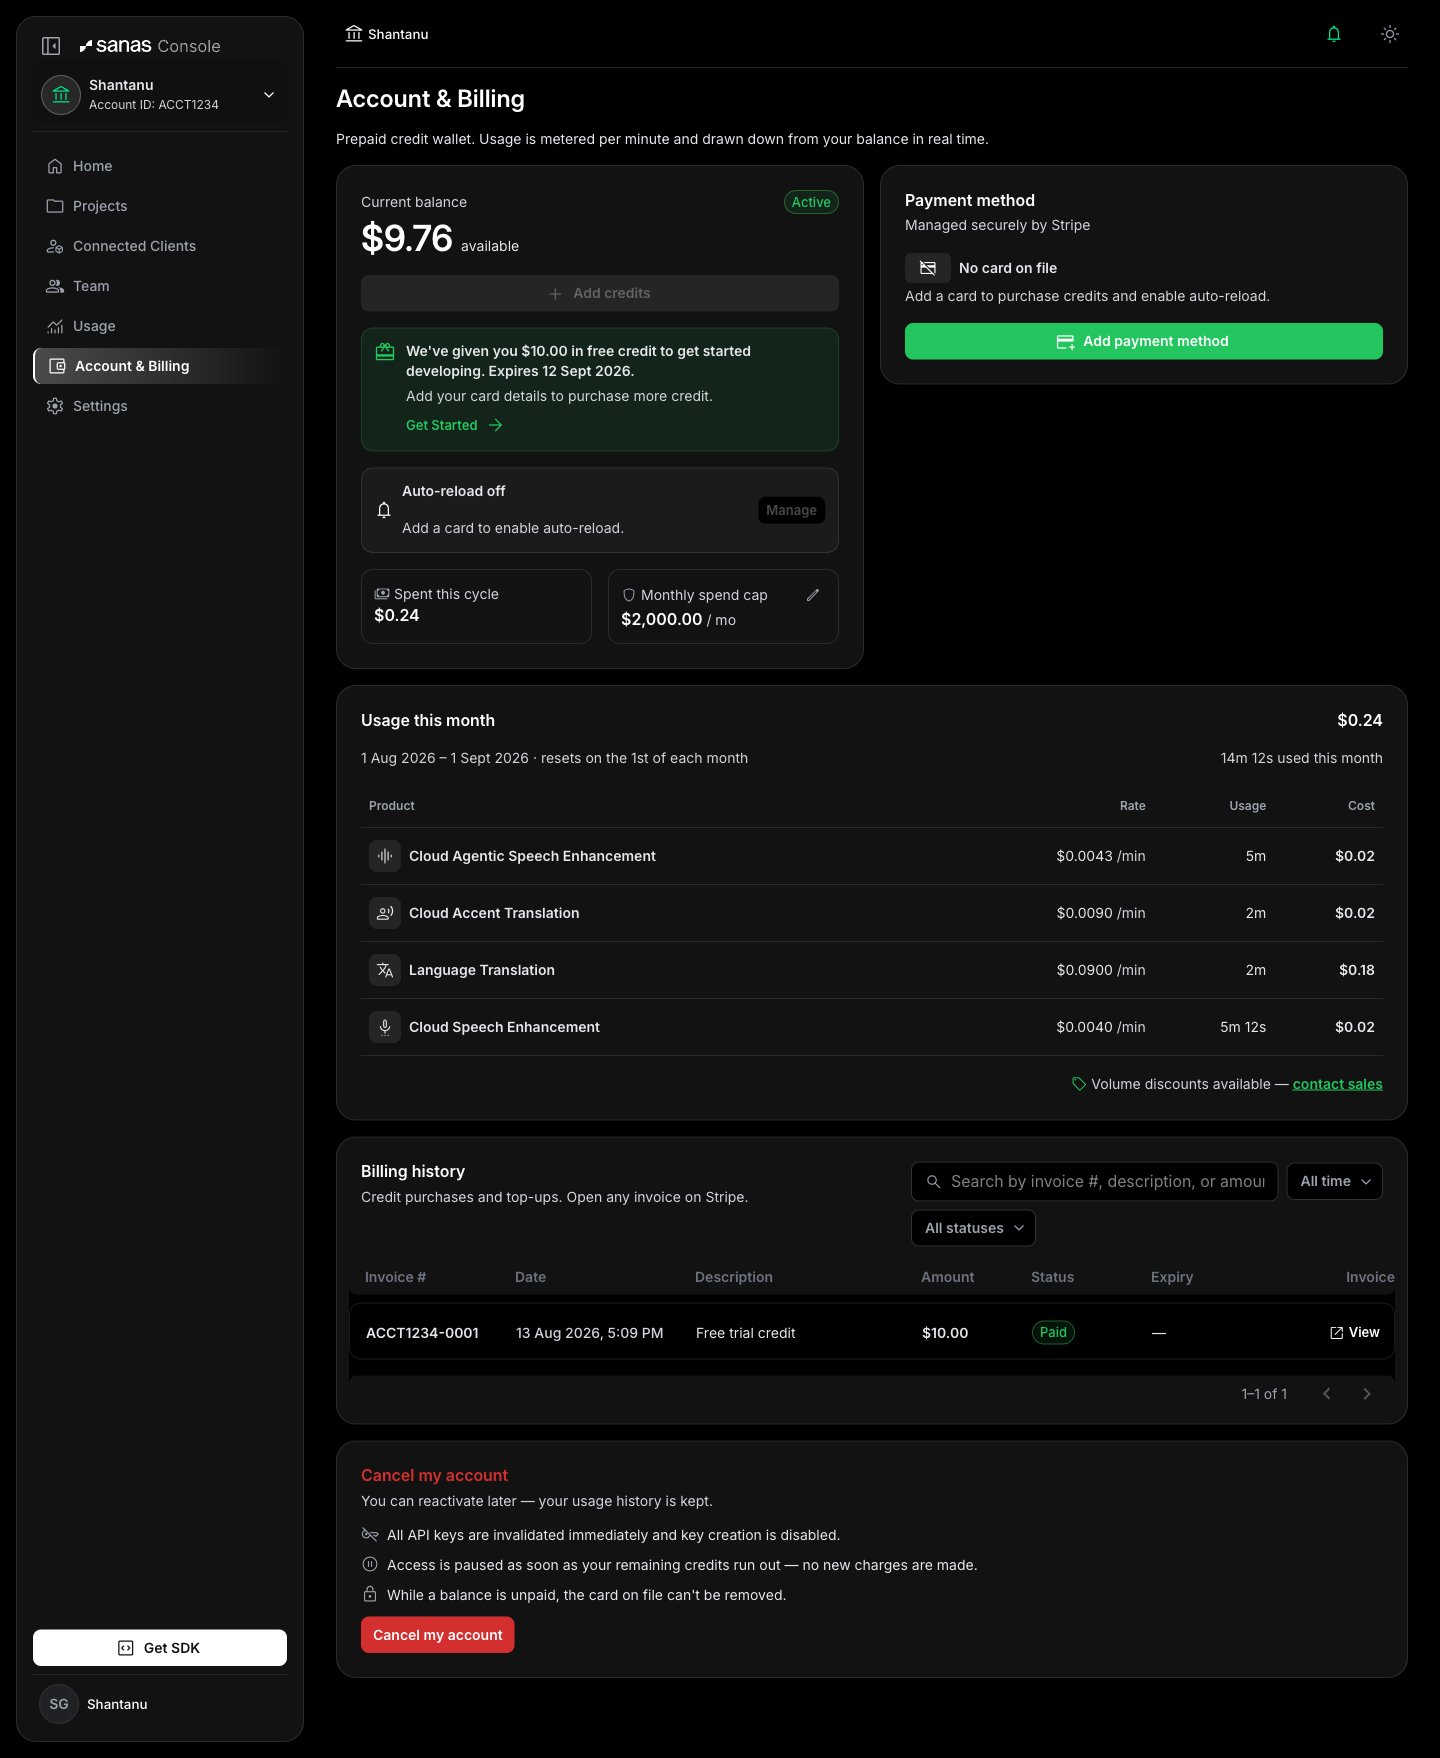
Back on Account & Billing, the same activity shows up as money. Compare this with the fresh wallet in Step 3 — the balance has moved from 9.76:- Current balance drops as minutes are processed.
- Spent this cycle rises to match.
- Usage this month breaks the spend out per product, at each product’s per-minute rate — here 14m 12s of audio costing $0.24 in total.
Info Usage is metered per minute and drawn down in real time, so a burst of inference is visible on both the Usage pages and the wallet shortly after it runs. Reporting is aggregated on the timezone you chose when creating the project.
Note
Usage this month is scoped to the current calendar month, so it resets on the 1st while Current balance keeps falling across months. If the balance has dropped but this panel reads $0.00, the processing happened in an earlier period — widen the range on the Usage page to find it.
Warning When credits run out, the wallet status flips to Paused — paid usage stops until you add credits. Add a payment method and turn on auto-reload before you depend on Sanas in production, so a busy day can’t interrupt your service.
Signing back in
Return to console.sanas.ai any time. Enter your email, select Continue, and verify with a fresh passcode — or use Google if that’s how you signed up.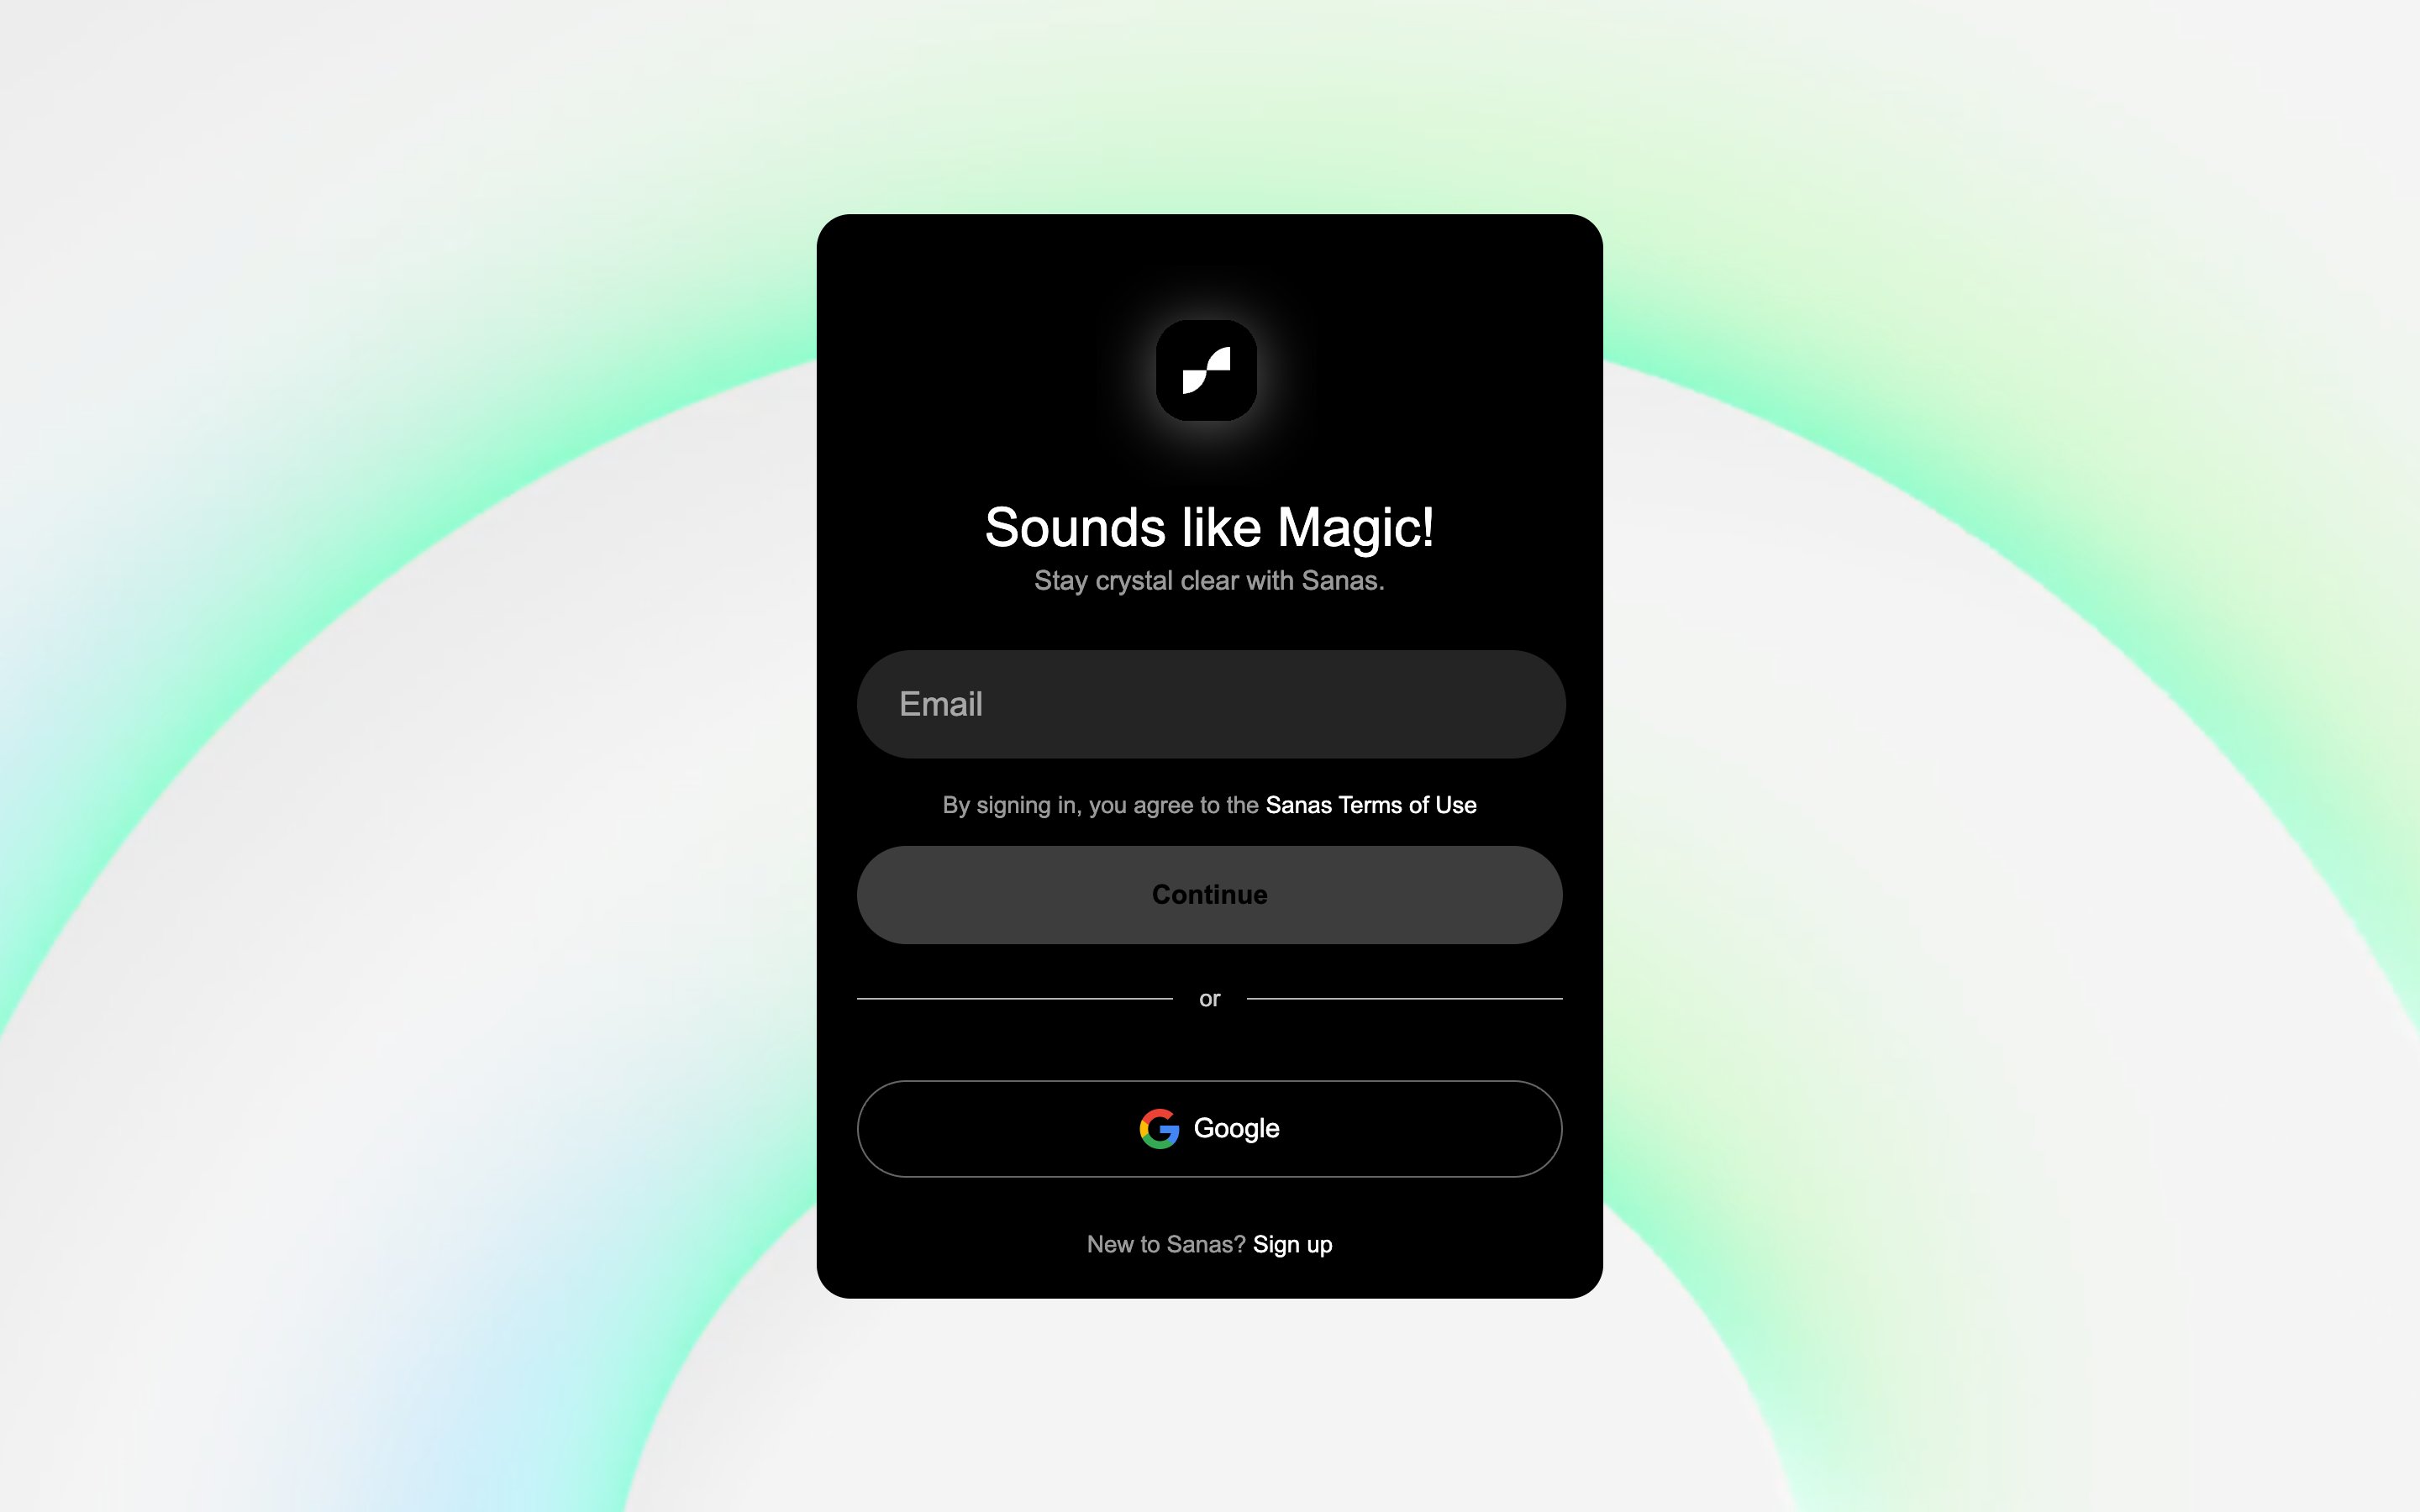
Key SDK types
InitParams, create_sdk, Sdk, AudioAttributes, ProcessorAttributes, AudioProcessor, AudioFrame, LanguageTranslationConfig, CloudInferencingParams, PipelineState, SdkResult.
Troubleshooting
The passcode never arrived
Check spam and any corporate mail filtering. Wait for the resend countdown to finish, then select Resend Passcode. Use Change to correct a typo in the address rather than requesting more codes to the wrong inbox.I closed the dialog before copying my key
The full key is unrecoverable by design. Create a new key, update your integration, and revoke the old one from the ⋮ menu in the API Keys list.The first-project dialog didn’t appear
It only opens automatically for accounts with no projects. Use Projects → Create Project, or + Create Project in the sidebar switcher.I don’t see the API Keys entry
You’re at account scope. API keys belong to a project — select a project in the sidebar switcher, then choose API Keys.import sanas fails or the wheel won’t install
Confirm the wheel tag matches your interpreter (cp310 for Python 3.10; cp312-abi3 for 3.12+). Install from inside the extracted archive so pip install sanas-*.whl resolves the bundled wheel, and make sure your venv is activated first.
The pipeline never reaches RUNNING
Activation and model selection are the usual causes. Check thatactivate_api_key returned success, that model_name is a key enabled for your account (or that lt_config is set for Language Translation), and that you waited on the audio_pipeline_state_notify callback before feeding frames.
My usage still reads zero
Confirm the date-range filter covers when you ran inference, and that you’re looking at the project whose key the SDK is using. Check at account scope to rule out having run against a different project. Usage is aggregated on the project’s configured timezone, so very recent activity may sit in the current day’s bucket.Processing stopped unexpectedly
Check Account & Billing. If the status pill reads Paused, either credits ran out or the monthly spend cap was reached for the calendar month. Add credits to resume, or raise the cap with the pencil icon next to it.Next steps
- Process multiple streams — scale to multiple concurrent audio streams with a shared SDK instance.
- Add your team — invite teammates from Team and give them access to the account or an individual project.
- Add a payment method — put a card on file to purchase credit and enable auto-reload before free credit runs out.
- Organize with sub projects — split a project into sub projects to separate environments or customers while keeping usage rolled up.
Need help?
- Email Support — support@sanas.ai · Response time: 1 business day
- Support Portal — raise a support ticket for urgent issues.